Displaying lists in Flutter
If you prefer to watch a video expalnation rather than a written one, I made a video version of this post
In this post we'll go over the ways to display a list in Flutter. This is a tutorial for beginners, but can also use as a reference in case you forget how to display a list in the future.
Table of contents:
- Introduction
- ListView with a constructor
- ListView with a separator
- Custom ListView
- Bonus: Scroll physics
Introduction:
In Flutter for displaying a list we use a ListView widget. Depending on your needs you can display a ListView in multiple ways
ListView with a constructor:
This is the most basic way of displaying a scrollable list. In the ListView constructor you just need to pass in an array of widgets as a children parameter, and those items will be displayed vertically (kind of like in a Column widget) but if the content inside a ListView takes up more space than it's allowed to, the content will automatically become scrollable. This is not a very convinient way for displaying for example a list of data that you get from a database, below is the snippet from the example app that has a ListView and some containers as it's children with some space between them to demonstrate this behavior
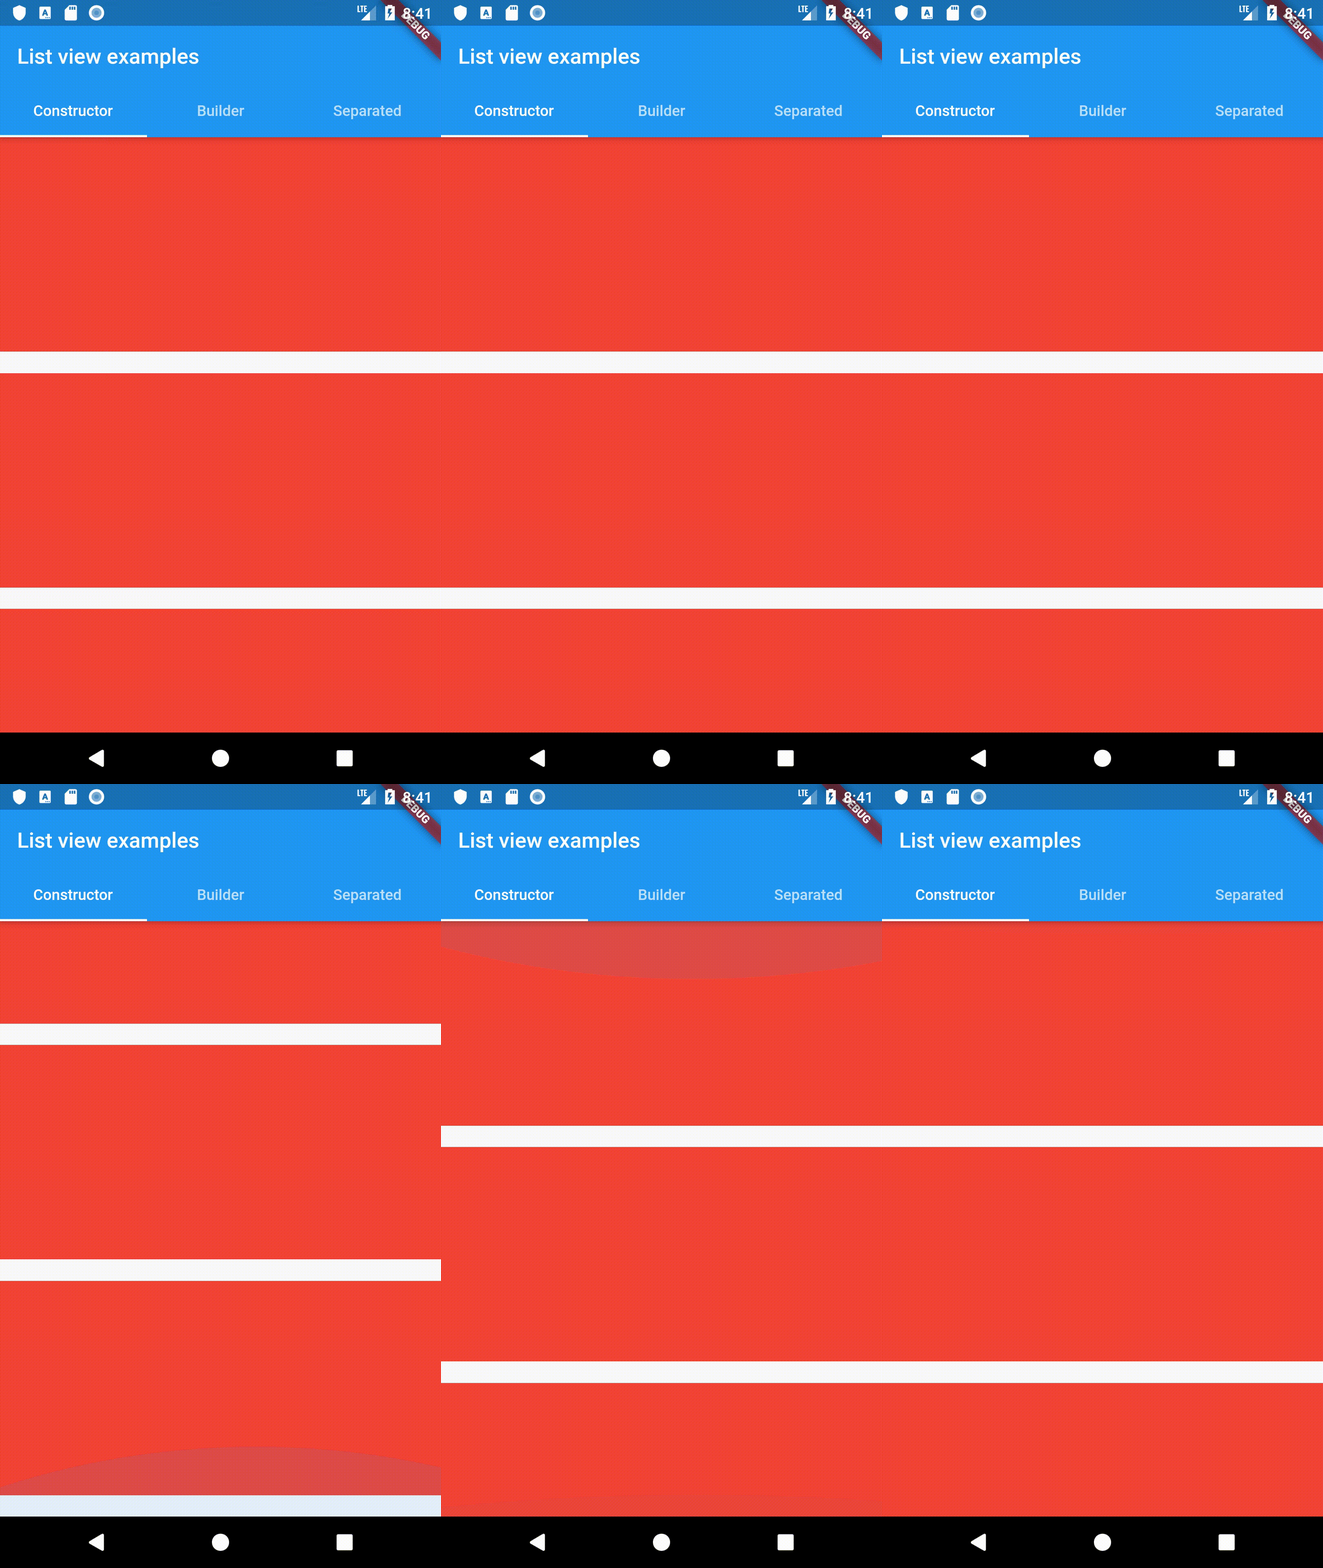
And below is how it will look in the app

ListView with a builder:
Now, this one is the one you'll probably use the most. I use this one pretty much 90% of the time
Here we use the ListView.builder() constructor in order to display the ListView. This constructor requires an itemBuilder to be passed in. itemBuilder is a just function, that takes in the BuildContext, and the current index of the item it's displaying. The itemBuilder function determines how our widget will be built based on the current index. It also has some other optional parameters that you may use such as itemCount, which basically determines the number of items to be displayed. Let's say you're building a ListView that displays a list of notes, and you have those notes in a List<Note> notes; property, and that Note class contains a property called title. The way you would display them, is by using the ListView.builder(), and pass in the itemCount to be notes.length, and in the itemBuilder you would return a Text widget that displays the note title at the current index that you get from the itemBuilder. Below is the snippet of code from the example app, that pretty much puts all of this we said to action:
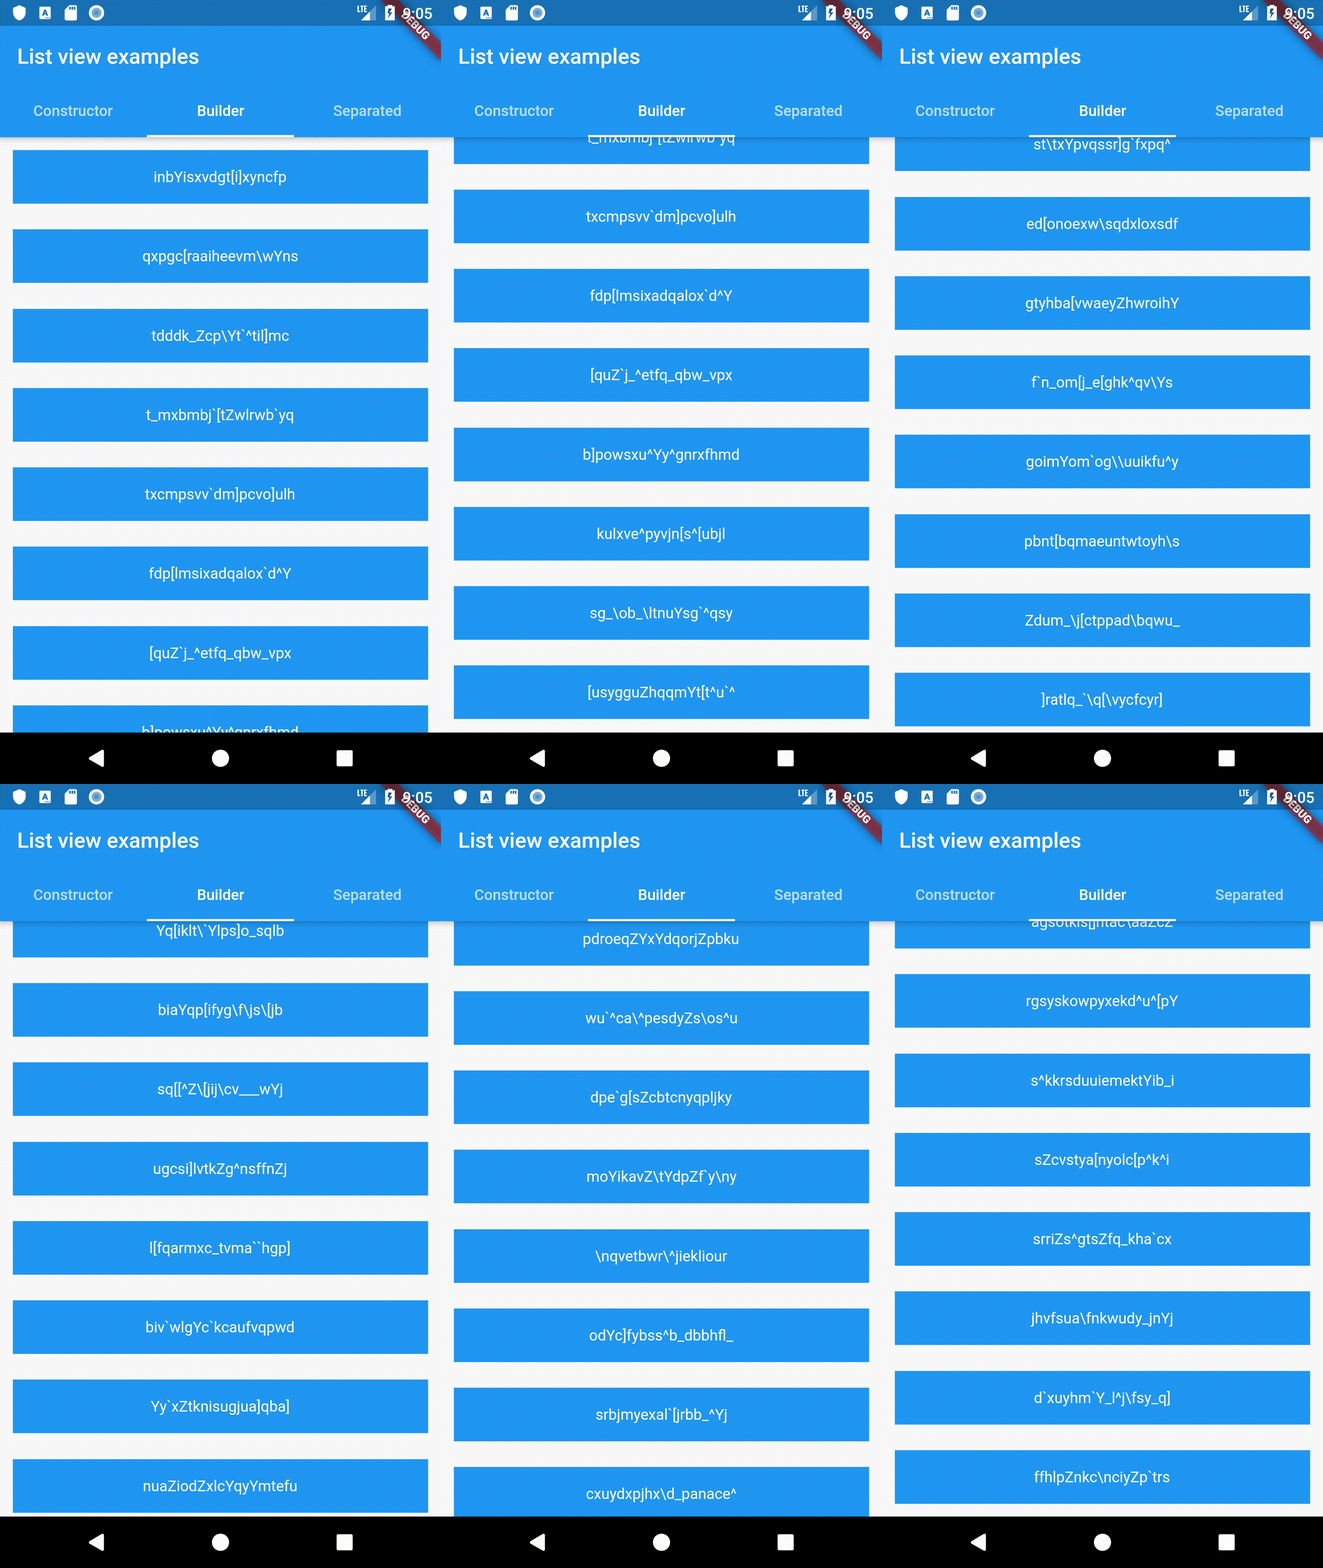
This is how our ListView would look like in the app

ListView with a separator:
This one is a little less common than the builder, but can still be very useful
Here we use the ListView.separated() constructor.
This one is extremely similar to the builder solution, but it has one more parameter and that is the separatorBuilder. separatorBuilder is also a function that takes in the BuildContext and the current index. The separatorBuilder should return a widget that will be displayed between every two elements of the ListView. For that you can use the Divider widget, and that's what I mostly use to display a separator between list items. This can be accomplished with the builder solution, but this one is just more clean and concise. Displaying a separator doesn't have to occur between every list item, because we're getting the index parameter, so we can check at what index we're at. For example this can be useful if we want to display an ad or something every 10 items
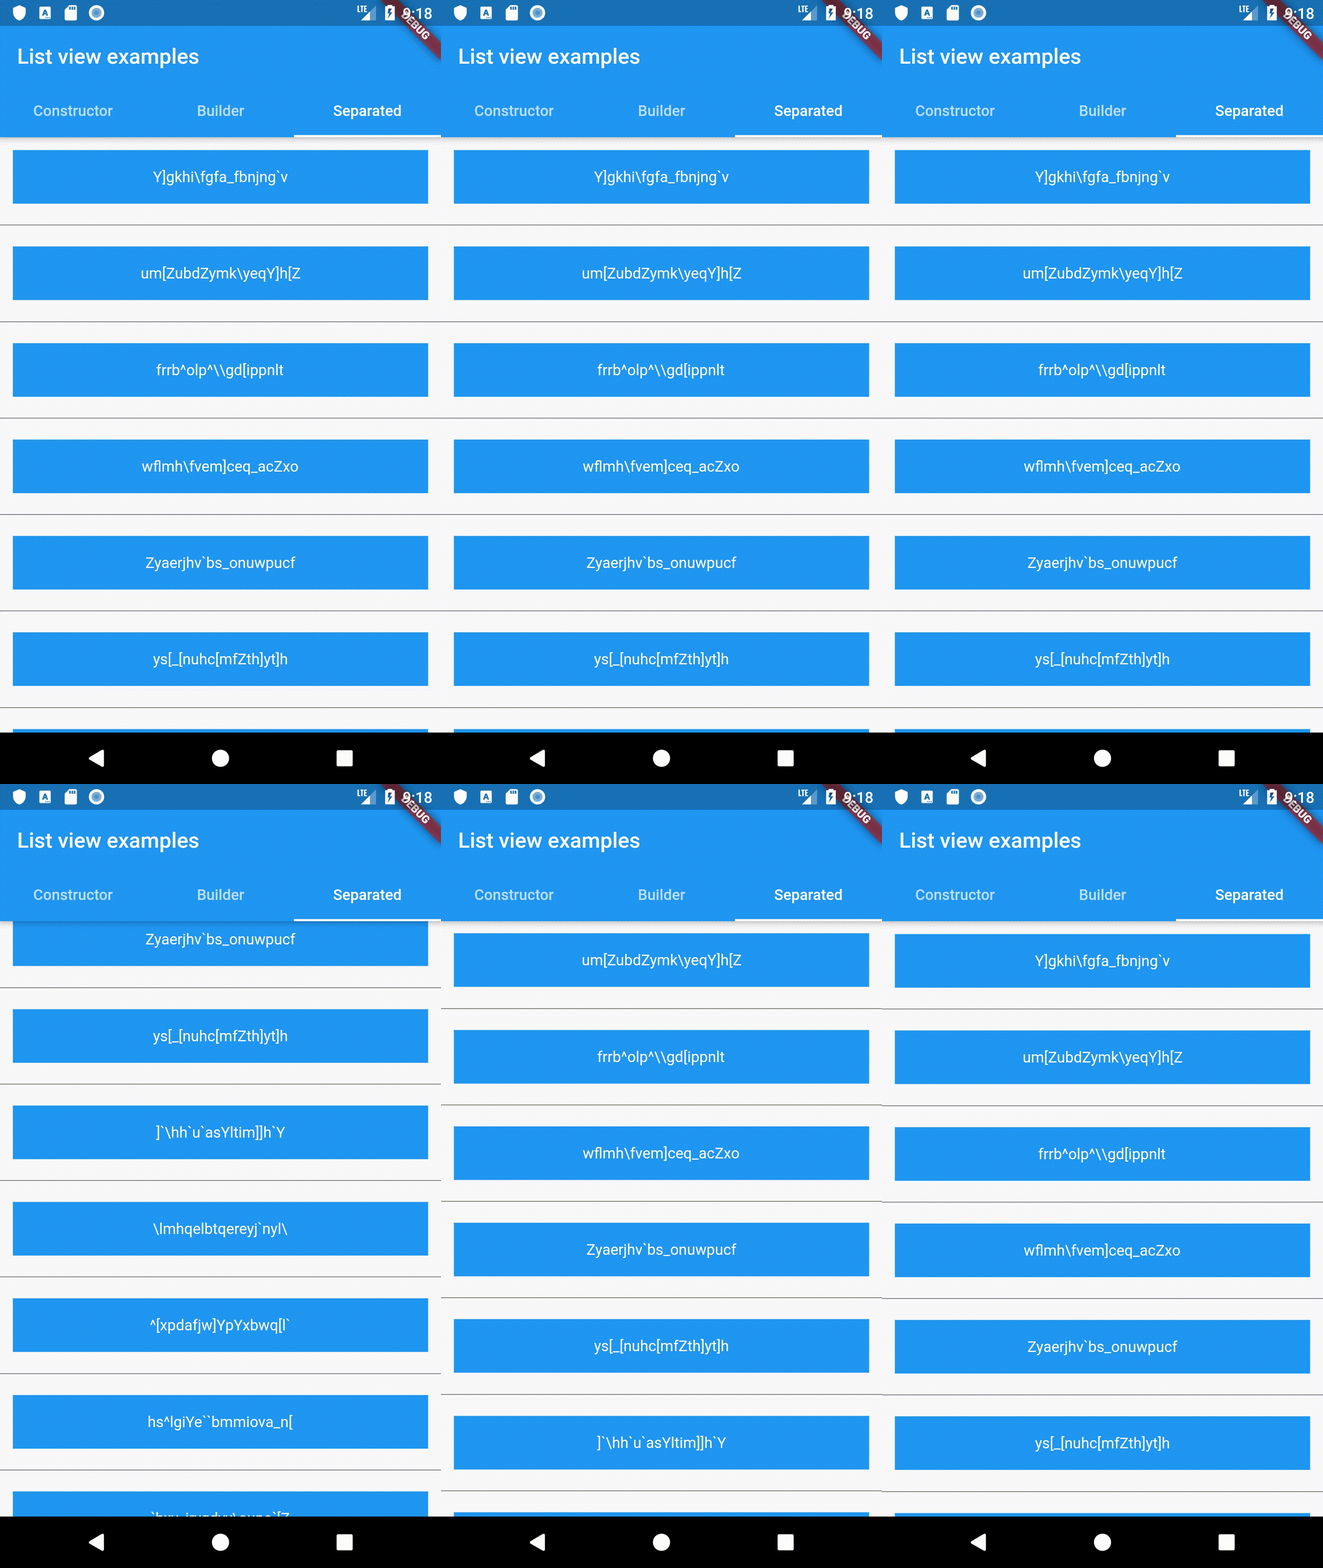
The code below is used to recreate the same ListView that we created in the builder solution just with the separator

Custom ListView:
This gives you ultimate customization ability on how children of the list are built. Here we use the ListView.custom() constructor in order to build this out
We won't explore that over here since that is pretty advanced and this is just a beginner tutorial
Bonus: Scroll physics:
Now let's explore scroll physics
This basically determines how our elements are going to be scrolled
Flutter has 4 types of scroll physics built in, but you can create your own if you want to customize scrolling.
The built in ScrollingPhysics implementations are:
-
NeverScrollablePhysics:
Disables the scrolling capabilites of the ListView
-
ClampingScrollPhysics:
The default android scrolling physics
-
BouncingScrollPhysics:
iOS scrolling physics
-
FixedExtentScrollPhysics:
This one is a little more complicated so we won't use it in the today's example
You change the scrolling physics of a ListView, by just passing in the physics parameter into any ListView constructor, and creating an instance of that scroll physics that you want to use, for example the BouncingScrollPhysics on a normal ListView would be created like this:
Here is how these ScrollingPhysics implementations look like:
-
NeverScrollablePhysics:

-
ClampingScrollPhysics:

-
BouncingScrollPhysics:

Conclusion
As you saw, there are quite a few ways we can display lists in Flutter, and we haven't even delved into the more advanced ways, with the ListView.custom() constructor. I really hope you found this blog post helpful, and if you did check out my YouTube channel for a bunch of other free Flutter tutorials and courses by clicking over here
The project used in this post is available over here
Authors

Create an Account
CodingWithMitch Members
Unlimited access to all courses and videos
Step by step guides to build real projects
Video downloads for offline viewing
Members can vote on what kind of content they want to see
Access to a private chat with other communnity members & Mitch
CodingWithMitch Members
Unlimited access to all courses and videos
Step by step guides to build real projects
Video downloads for offline viewing
Members can vote on what kind of content they want to see
Access to a private chat with other communnity members & Mitch
Comments