Table of Contents:
- Demo
- Introduction
- What is Notification in Android?
-
An Example:
Demo
Introduction
In this blog I'm going to show you how to display Notifications in Android.
What is Notification in Android?
A Notification is a kind of message you can display to the user outside of your app's UI. User can tap on notification to open your app or directly take an action from notification.
What you will Learn in this Demo
We will build a simple app and display the notification with following features :
- Notifications on api<26 and api>26
- Displaying a basic notification
- Custom styling for notification
- Lock screen Notifications
- Tap Action on Notification(Opening an activity when a notification is clicked)
- Action buttons on Notifications
Let's begin the coding.
Setting Up Notification
Open MainActivity.java file and outside onCreate() , create a public method called sendNotification() and inside this method add the following code.
In this we are getting a instance of NotificationManager class from Context.getSystemService() method.
What is NotificationManager class ?
NotificationManager class is used to build a notification and create a notification channel.This class also notify the user of events that happen in app , through this only user gets to know that something has happened in background.
Create a Notification channel
Before creating a Notification channel , Let's discuss What is Notification channel?
Starting in Android 8.0(API Level 26) Android system makes compulsory for all notifications to be assigned a particular channel . Through these channels user can have a complete control over Notification and change the settings of Notifications.
Now inside sendNotification() method , add the following code.
In this we are creating NotificationChannel object by passing the Channel_id(This should be unique) , channel name and channel importance , IMPORTANCE_DEFAULT means when notification is displayed it makes noise , and then registering a channel through createNotificationChannel() method.
Further we are adding some properties to our channel such as :
- enableVibration(true): This means when notification is posted to this channel it should vibrate.
- enableLights(true): This means when notification is posted to this channel it should display lights.
- setLightColor(): It sets the light color for notification posted to this channel.
Create a Notification
Inside sendNotification() method , add the following code. In this we are building a notification from NotificationCompat.builder class passing the context and channel id which we mentioned above.
Then we are adding some properties of notification such as :
- setContentTitle(): Sets the title text in notification.
- setContentText(): Sets the main text or body in notification.
- setSmallIcon(): Sets the small icon in notification , This must be added in notification.
- setPriority(): Sets the priority of notification , if the priority is high then more likely to interrupt the user.
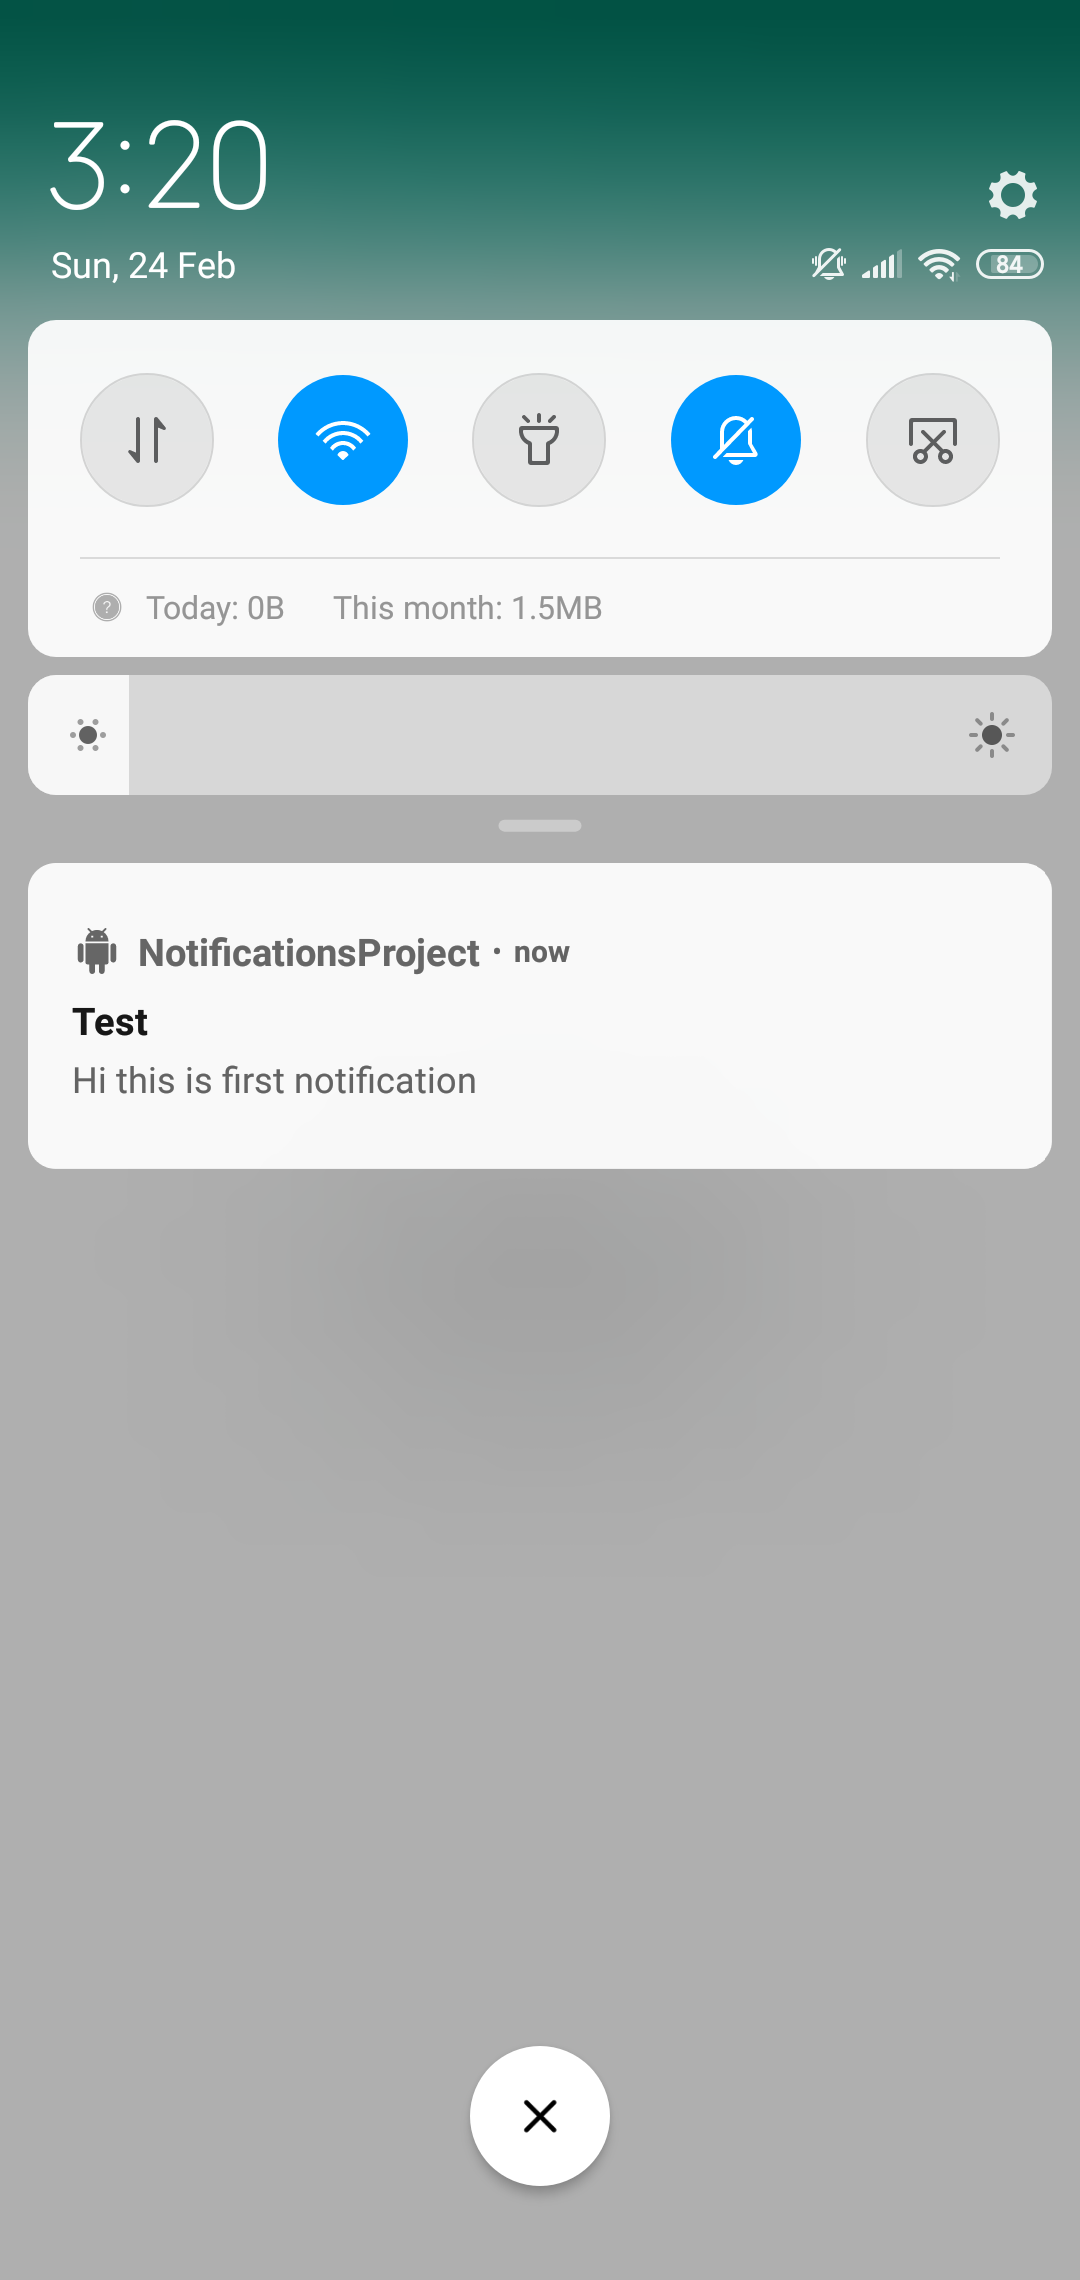
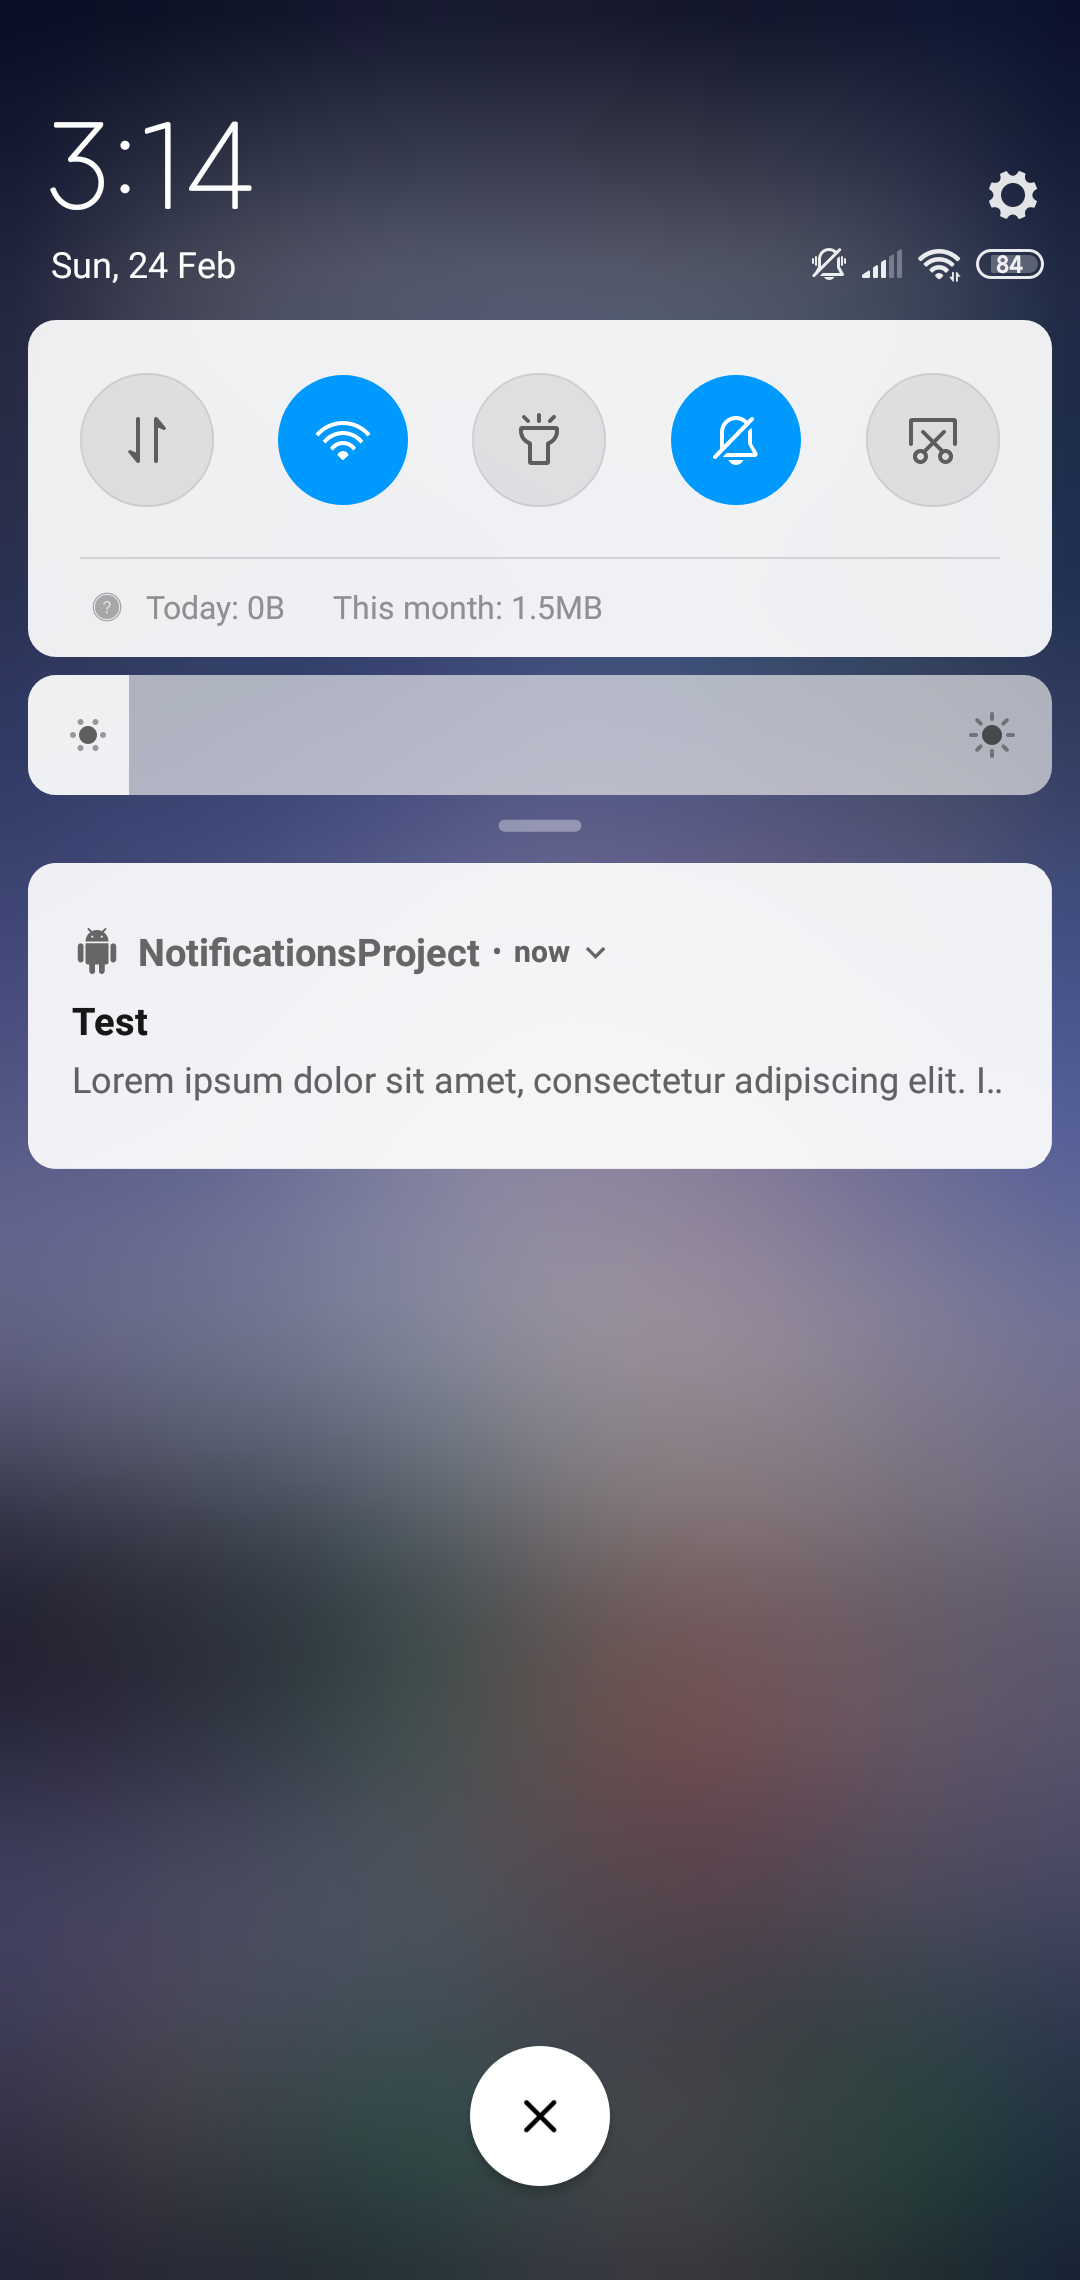
Till now we have done this :
Set Tap Action to Notification
Firstly , create another empty activity called SecondActivity.java and then open activity_second.xml file and add the following code.
Then open MainActivity.java file and inside sendNotification() method , add the following code . First we are creating our intent object , then passing this object to Pending Intent and setting this intent to notification i.e When user taps on notification this intent will fire.
What is Pending Intent?
A pending intent is an intent that has yet to be fired. Hence the prefix, 'pending'. The intent will be fired when some action is taken. In this case, the action is when the user clicks on the notification.
Till now we have done this :
Setting Styles to Notification
In this section we will be creating an Expandable Notification. A basic notification contains one line of text and small information but in expandable notification we can add multi-line text and bigger picture.
Add a large block of Text :
Inside sendNotification() method , add the following code. BigTextStyle() lets you add large block to text in notification.
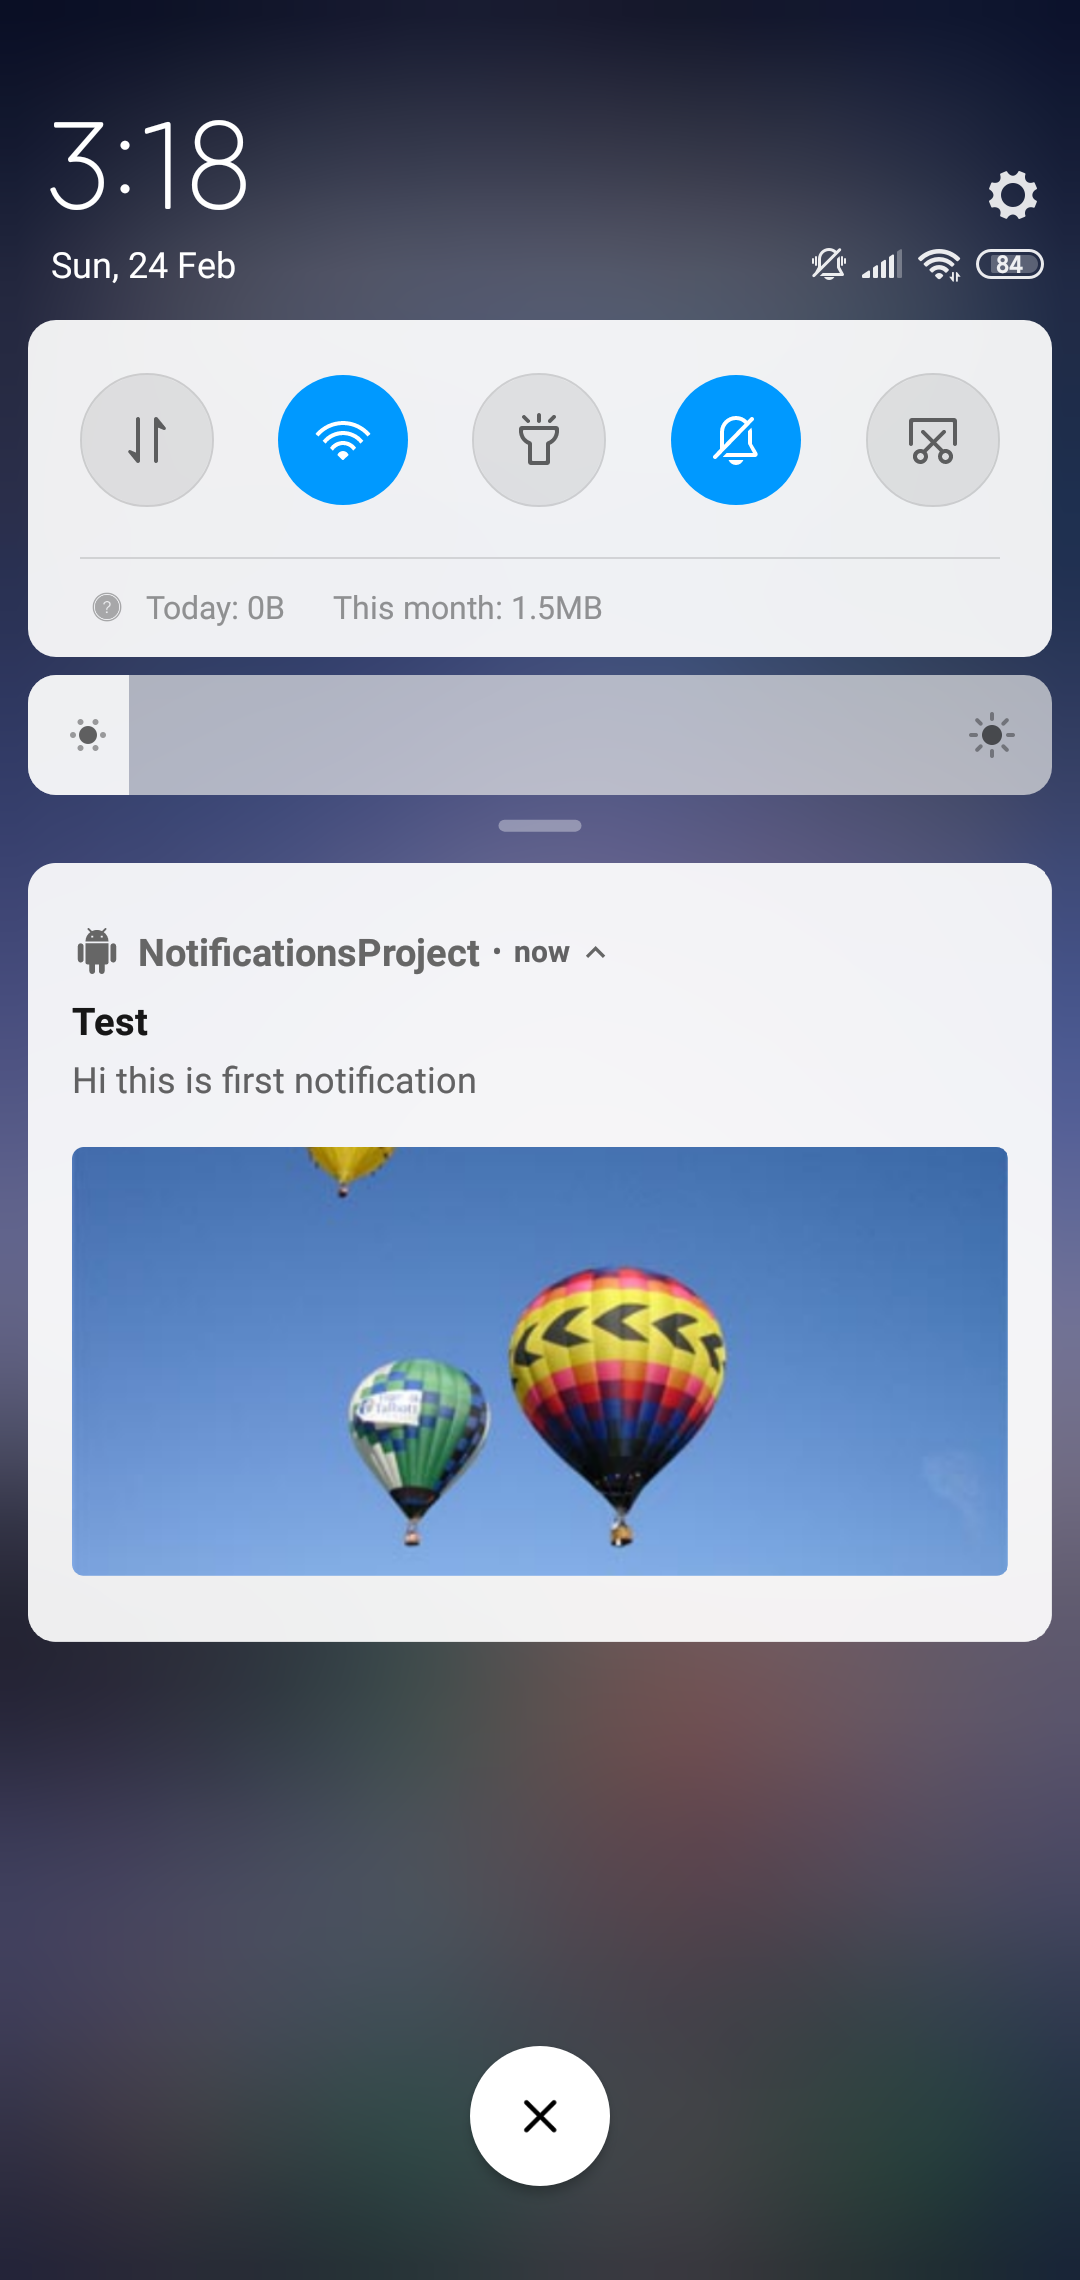
Till now we have done this :
Before Expanding
After Expanding
Add a large Image :
Inside sendBroadcast() method , add the following code, bigPicture() takes a bitmap so we are converting our drawable image to bitmap.
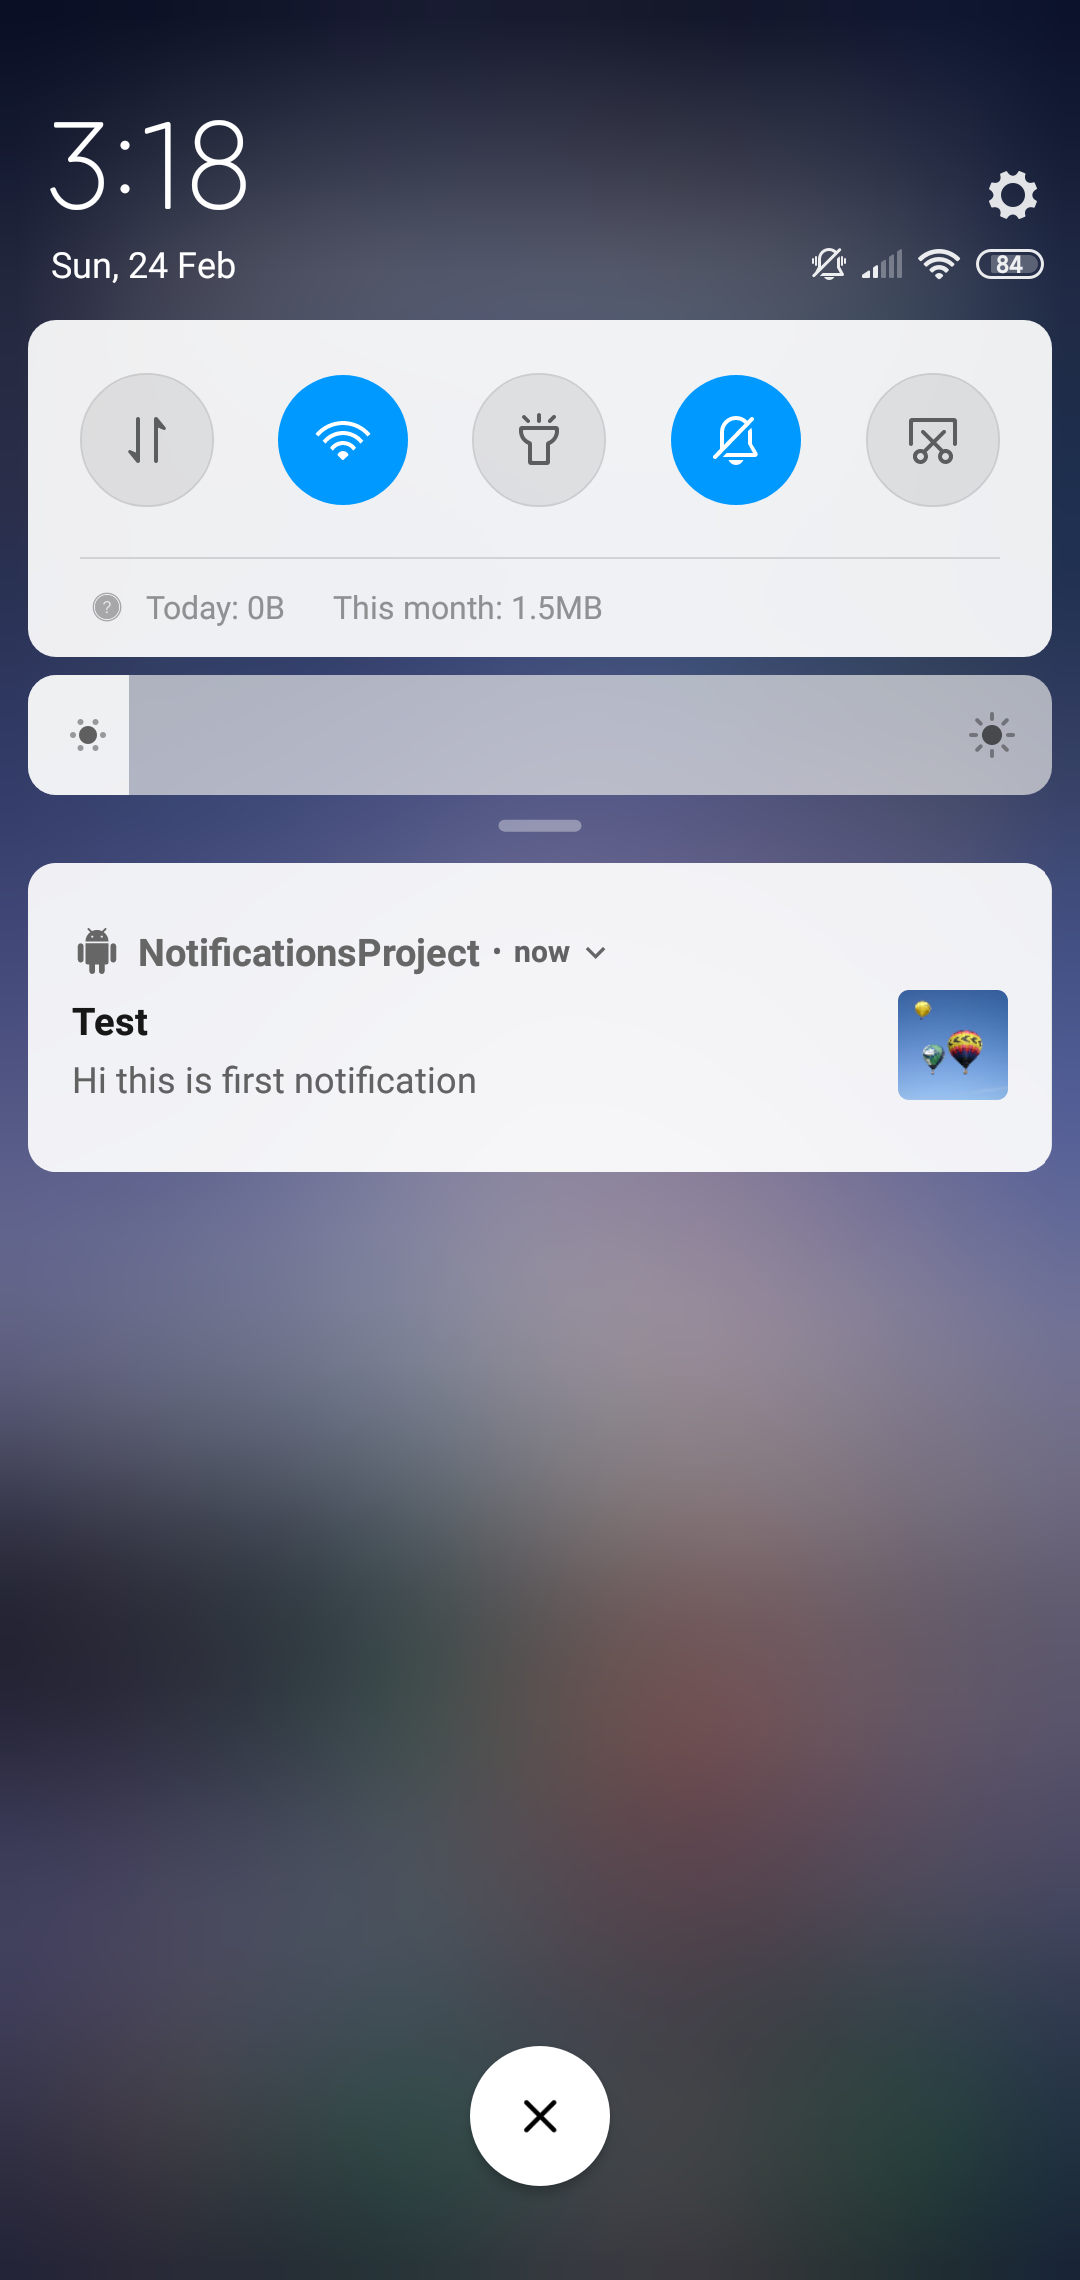
Till now we have done this :
Before Expanding
After Expanding
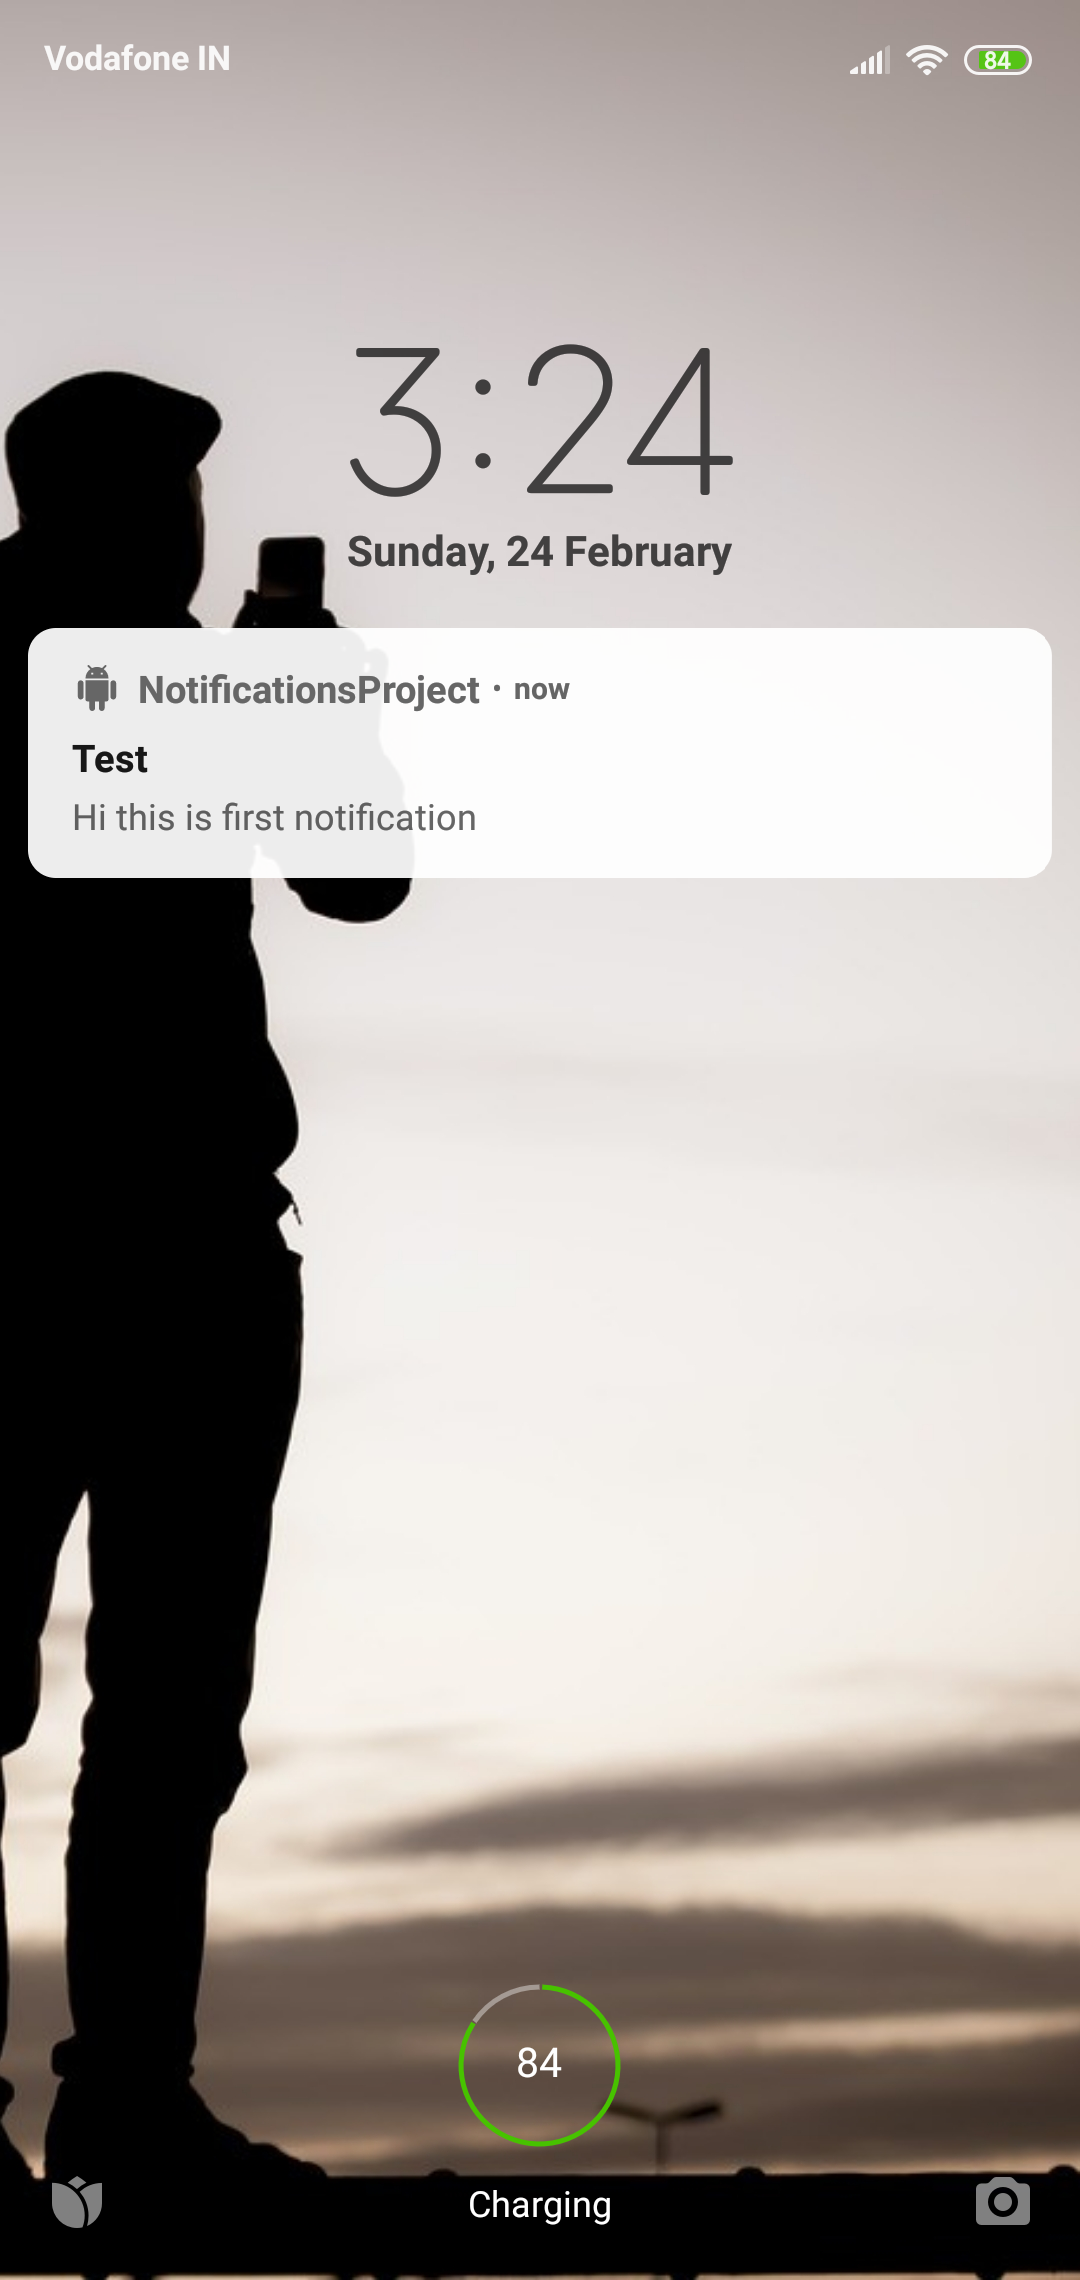
Display Notification on Lock Screen
Inside sendNotification() method , add the following code. Notifications can be displayed on lock screen through channel.setLockScreenVisibility() method , There are three visibility modes:
- VISIBILITY_PUBLIC: When you want to display the full content of Notification on Lock screen.
- VISIBILITY_PRIVATE: When you want to display basic information such as icon and content title on Lock screen.
- VISIBILITY_SECRET: When you don't want to display any part of notification on Lock screen.
Till now we have done this :
Add Action Buttons
In this section our notification contain "View" button on click of which we will open a new Activity displaying that image.
Create new empty Activtity called ThirdActivity.java and add the following code inside it. Similarly open activity_third.xml file and add the following code.
Now , open MainActivity.java and inside sendBroadcast add the following code , addAction() takes three arguments-icon , button text and pendingIntent. So when user clicks on View button "viewPendingIntent" will fire and ThirdActivity will be displayed.
Till now we have done this :
That's All! Happy Coding!
The complete code is available here.
Staying in the Loop
If you want to stay in the loop and get an email when I write new blog posts, Follow me on Instagram or join the CodingWithMitch community on my website. It only takes about 30 seconds to register.
Authors

Create an Account
CodingWithMitch Members
Unlimited access to all courses and videos
Step by step guides to build real projects
Video downloads for offline viewing
Members can vote on what kind of content they want to see
Access to a private chat with other communnity members & Mitch
CodingWithMitch Members
Unlimited access to all courses and videos
Step by step guides to build real projects
Video downloads for offline viewing
Members can vote on what kind of content they want to see
Access to a private chat with other communnity members & Mitch
Comments