Table of Contents:
- Demo
- Introduction
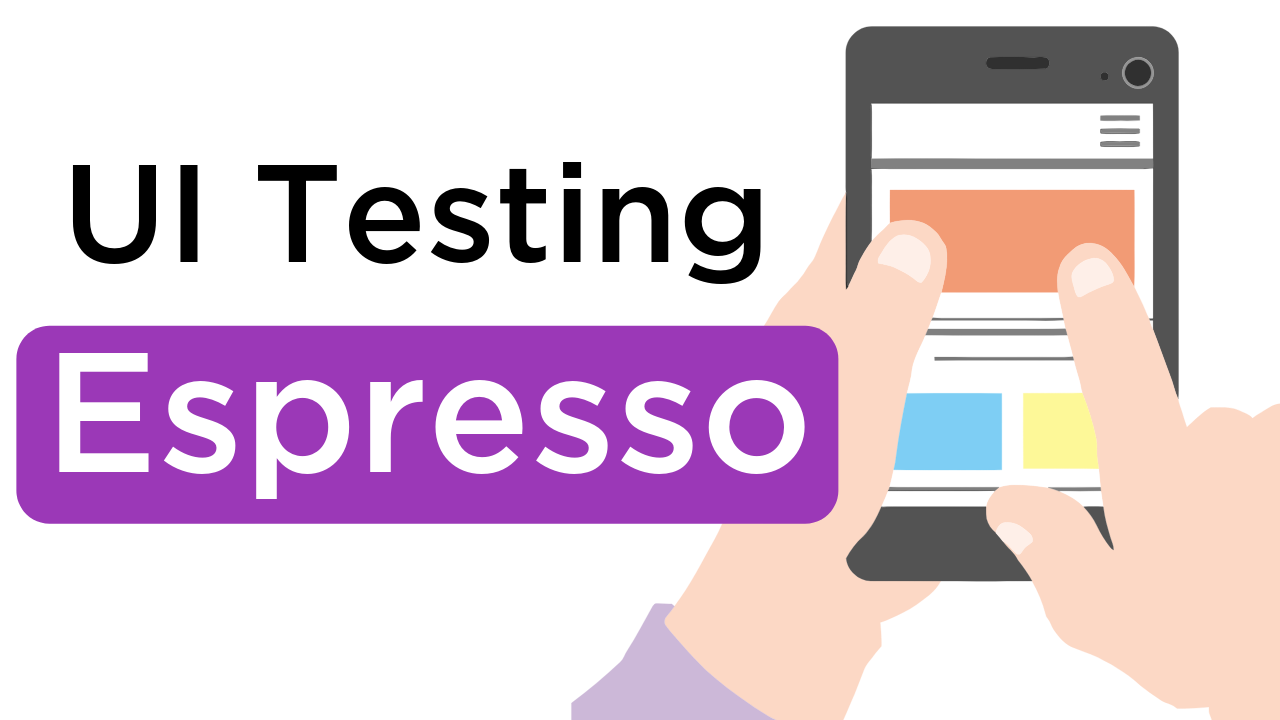
- What is Espresso?
- Components of Espresso
-
An Example:
Demo
LOGIN SUCCESS
LOGIN FAILED
Introduction
In this blog I'm going to show you how to do UI testing with Espresso in Android.
What is Espresso?
Espresso is basically a testing framework released by Google in 2013. Espresso testing framework is used for UI testing and it helps in writing reliable user interface tests. Espresso tests run on actual device or emulator and behave as if an actual user is using the app.
Components of Espresso
There are three basic components of Espresso testing framework.
- ViewMatchers
ViewMatchers is basically a collection of hamcrest Matchers which locate a view in a current view hierarchy. - ViewActions
ViewActions is a collection of ViewAction objects which is used to perform some actions on the specified view, like click(), typeText(), etc. - ViewAssertions
ViewAssertions is a collection of ViewAssertion objects which is used to check if the specified view does what we expected.
Login App
Now, Let's dive into the code. We will build the simple app in which there will be one email field and another one is password field. We will write two basic UI tests, in which we will check, if login is successfull or not. We will use hardcoded email id and password in this app.
Let's begin the coding!!!
Dependencies
Open build.gradle (Module:app) and add the following dependencies.
Make sure you have the latest version of dependencies. You can check the latest version here
Designing MainActivity Layout
Add the following code in your activity_main.xml file. This layout contains two edittexts for entering email id and password and Login Button is present below the edittexts and below this button one textview is present which displays the result
Setting Up MainActivity
In this section, we will setup the login code in MainActivity
-
First, Declare the EditText objects, Button object and TextView object inside the MainActivity class and find the reference of all these objects
in the onCreate() method using findViewById() method.
-
Now, apply the OnClickListener on the Login Button present in the layout
In the below code, we are logging in using dummy email id and password. If the email id is mohak123@gmail.com and the password is mohak123 then, set the LOGIN SUCCESS! text on TextView and if it's not, then set LOGIN FAILED text on TextView.
Creating MainActivityTest Class
In this section, we will see how to create MainActivityTest Class where we will write the UI test for MainActivity. You can create the test class for a particular activity using two methods
(Note: You can choose any method from these two)
- By right click on package name :
This part we'll be focussing on creating the MainActivityTest class by right clicking on package name.
-
Espresso tests are placed in androidTest folder. So, let's go to the androidTest folder and right click on it. After that, go to New and then go to Java Class option. Click on this option

-
Second, type the Test class name inside the Create new class Dialog box.
In this case, type MainActivityTest and press Enter. Now, your test class is created.

-
Espresso tests are placed in androidTest folder. So, let's go to the androidTest folder and right click on it. After that, go to New and then go to Java Class option. Click on this option
- By MainActivity Class :
This part we'll see how you can create MainActivityTest class from MainActivity
-
First, Go to MainActivity class and press Alt+Enter on it. There, you will see Create Test Class option. Select this option.

-
Now, Create Test Dialog box appears. Choose the default options and press OK Button.
After that, Choose Destination Directory Dialog box appears. There select /app/src/androidTest/java/your_package_name directory and select OK Button. That's all, your MainActivityTest class is created.

-
First, Go to MainActivity class and press Alt+Enter on it. There, you will see Create Test Class option. Select this option.
Setting Up Basic Code in MainActivityTest Class
In this section, we will setup the basic code in MainActivityTest class
-
First, annotate MainActivityTest class using @RunWith annotation and pass AndroidJUnit4.class as it's parameter.
AndroidJUnitRunner basically helps in running the JUnit test classes including those using Espresso testing framework.
-
Now, we will define the ActivityTestRule using @Rule annotation.
ActivityTestRule basically provides functional testing of a single Activity. By using ActivityTestRule, the testing framework launches the activity under test before each test method annotated with @Test and before any method annotated with @Before
In the below code, we are creating the rule for MainActivity so that MainActivity launches before the method annotated with @Test executes.
NOTE: ActivityTestRule should always be defined as public
Creating Login Success Test
In this section, we will create our first UI test which will be of Login Success.
-
First, create the public method checkingLoginSuccess and annotate this method with @Test annotation.
By annotating the method with @Test annotation, we are mentioning that this is the method which runs the desired UI Test.
-
Now, paste the below code inside checkLoginSuccess() method.
-
In the below code, first, we are finding the Email Id EditText using onView() method and withId() method. Basically, we are finding the email id EditText using it's id defined in activity_main.xml file
After finding the view, we are performing some operation on that EditText using perform() method. perform() method is basically used for performing user interaction on the specified view.
And, after that we are passing typeText() method as the parameter to the perform() method. typeText() method basically types the specified text on the specified EditText. In this case, we are typing "mohak123@gmail.com" and after that we are passing closeSoftKeyboard() method as the second parameter to the perform() method. closeSoftKeyboard() method basically closes the keyboard after typing in the EditText
- After that, we are repeating the same procedure for password EditText. We are typing "mohak1234" in the password field and closing the keyboard using closeSoftKeyboard() method.
- After typing email id and password in their respective fields, we are performing click operation on Login Button using click() method.
- Finally, we are checking if the result TextView text matches with "LOGIN SUCCESS!" text, because, when email and password is "mohak123@gmail.com" and "mohak1234" then result TextView displays "LOGIN SUCCESS!"text.
- Google provides a cheatsheet for Espresso UI Testing. You can get the cheatsheet from here.
-
That's all, you have created your first UI test.
Creating Login Failed Test
In this section, we will create our second UI test which will be of Login Failure.
-
First, create the public method checkingLoginFailure and annotate this method with @Test annotation.
By annotating the method with @Test annotation, we are mentioning that this is the method which runs the desired UI Test.
-
Now, paste the below code inside checkLoginFailure() method.
-
In the below code, first, we are finding the Email Id EditText using onView() method and withId() method as we have done in previous step and typing "mohak123@gmail.com" in the Email Id field and finally closing the keyboard.
- After that, we are repeating the same procedure for password EditText. We are typing "mohak12345" in the password field and closing the keyboard using closeSoftKeyboard() method.
- After typing email id and password in their respective fields, we are performing click operation on Login Button using click() method.
- Finally, we are checking if the result TextView text matches with "LOGIN FAILED" text, because, when email and password is "mohak123@gmail.com" and "mohak12345" then result TextView displays "LOGIN FAILED"text.
-
That's all, you have created your second UI test.
That's All! Happy Coding!
The complete code is available here.
Staying in the Loop
If you want to stay in the loop and get an email when I write new blog posts, Follow me on Instagram or join the CodingWithMitch community on my website. It only takes about 30 seconds to register.
Authors

Create an Account
CodingWithMitch Members
Unlimited access to all courses and videos
Step by step guides to build real projects
Video downloads for offline viewing
Members can vote on what kind of content they want to see
Access to a private chat with other communnity members & Mitch
CodingWithMitch Members
Unlimited access to all courses and videos
Step by step guides to build real projects
Video downloads for offline viewing
Members can vote on what kind of content they want to see
Access to a private chat with other communnity members & Mitch
Comments