
Table of Contents:
- Introduction
- What is a WorkManager?
- When you should use it?
- When you should not use it?
- Basic Components of WorkManager
-
An Example:
Introduction
In this blog I'm going to show you how to work with WorkManager in Android. We will be doing two examples one with OneTimeWorkRequest and another with PeriodicWorkRequest.
What is a WorkManager?
WorkManager library is a part of Android JetPack and Architecture Components. It is used to run deferrable background task (work). Basically, it is meant for tasks that requires guaranteed execution even if the app is in background. You can also specify some constraints a device needs to fulfill before the work can run. For example, suppose there is a task that requires intensive battery usage, then that task can be run when the device is charging.
When you should use it?
- When the task needs to be completed:
WorkManager library can be used when you want your task to be completed irrespective of whether you navigates away from the app or the screen. - Can the task be deferrable:
WorkManager library can be used when your task can be deferrable. Deferrable means that your task can be run later. In some cases, WorkManager may not run your tasks immediately because it works in a battery efficient way and it does not ignores the Android background restrictions.
When you should not use it?
- When the task needs to be executed at some exact time:
If you want the task to be exceuted at some specific time, then in that case, WorkManager library can't be used. For this specific case, consider using AlarmManager.
Basic Components of WorkManager
There are four basic components of WorkManager you need to know:
- Worker:
Worker is an abstract class that performs work synchronously on a background thread provided by WorkManager. You will need to make a custom class and extends the Worker Class and override the doWork() method where actual background processing takes place. - WorkRequest:
WorkRequest is also an abstract class which specifies parameters or constraints for work that should be enqueued in WorkManager. There are two types of WorkRequest:
- OneTimeWorkRequest:
It is basically a WorkRequest for non-repeating task. For example, if you want your task to be exceuted only once, then you should use OneTimeWorkRequest. - PeriodicWorkRequest:
It is basically a WorkRequest for repeating task. First execution of the task happens immediately and the further executions happens during a interval specified. For example, if you want your task to be exceuted for multiple times, then you should use PeriodicWorkRequest.
- OneTimeWorkRequest:
- WorkManager:
WorkManager class actually runs your WorkRequest based on the Constraints specified during building of WorkRequest. - WorkInfo:
WorkInfo class consists of information about the specific task.
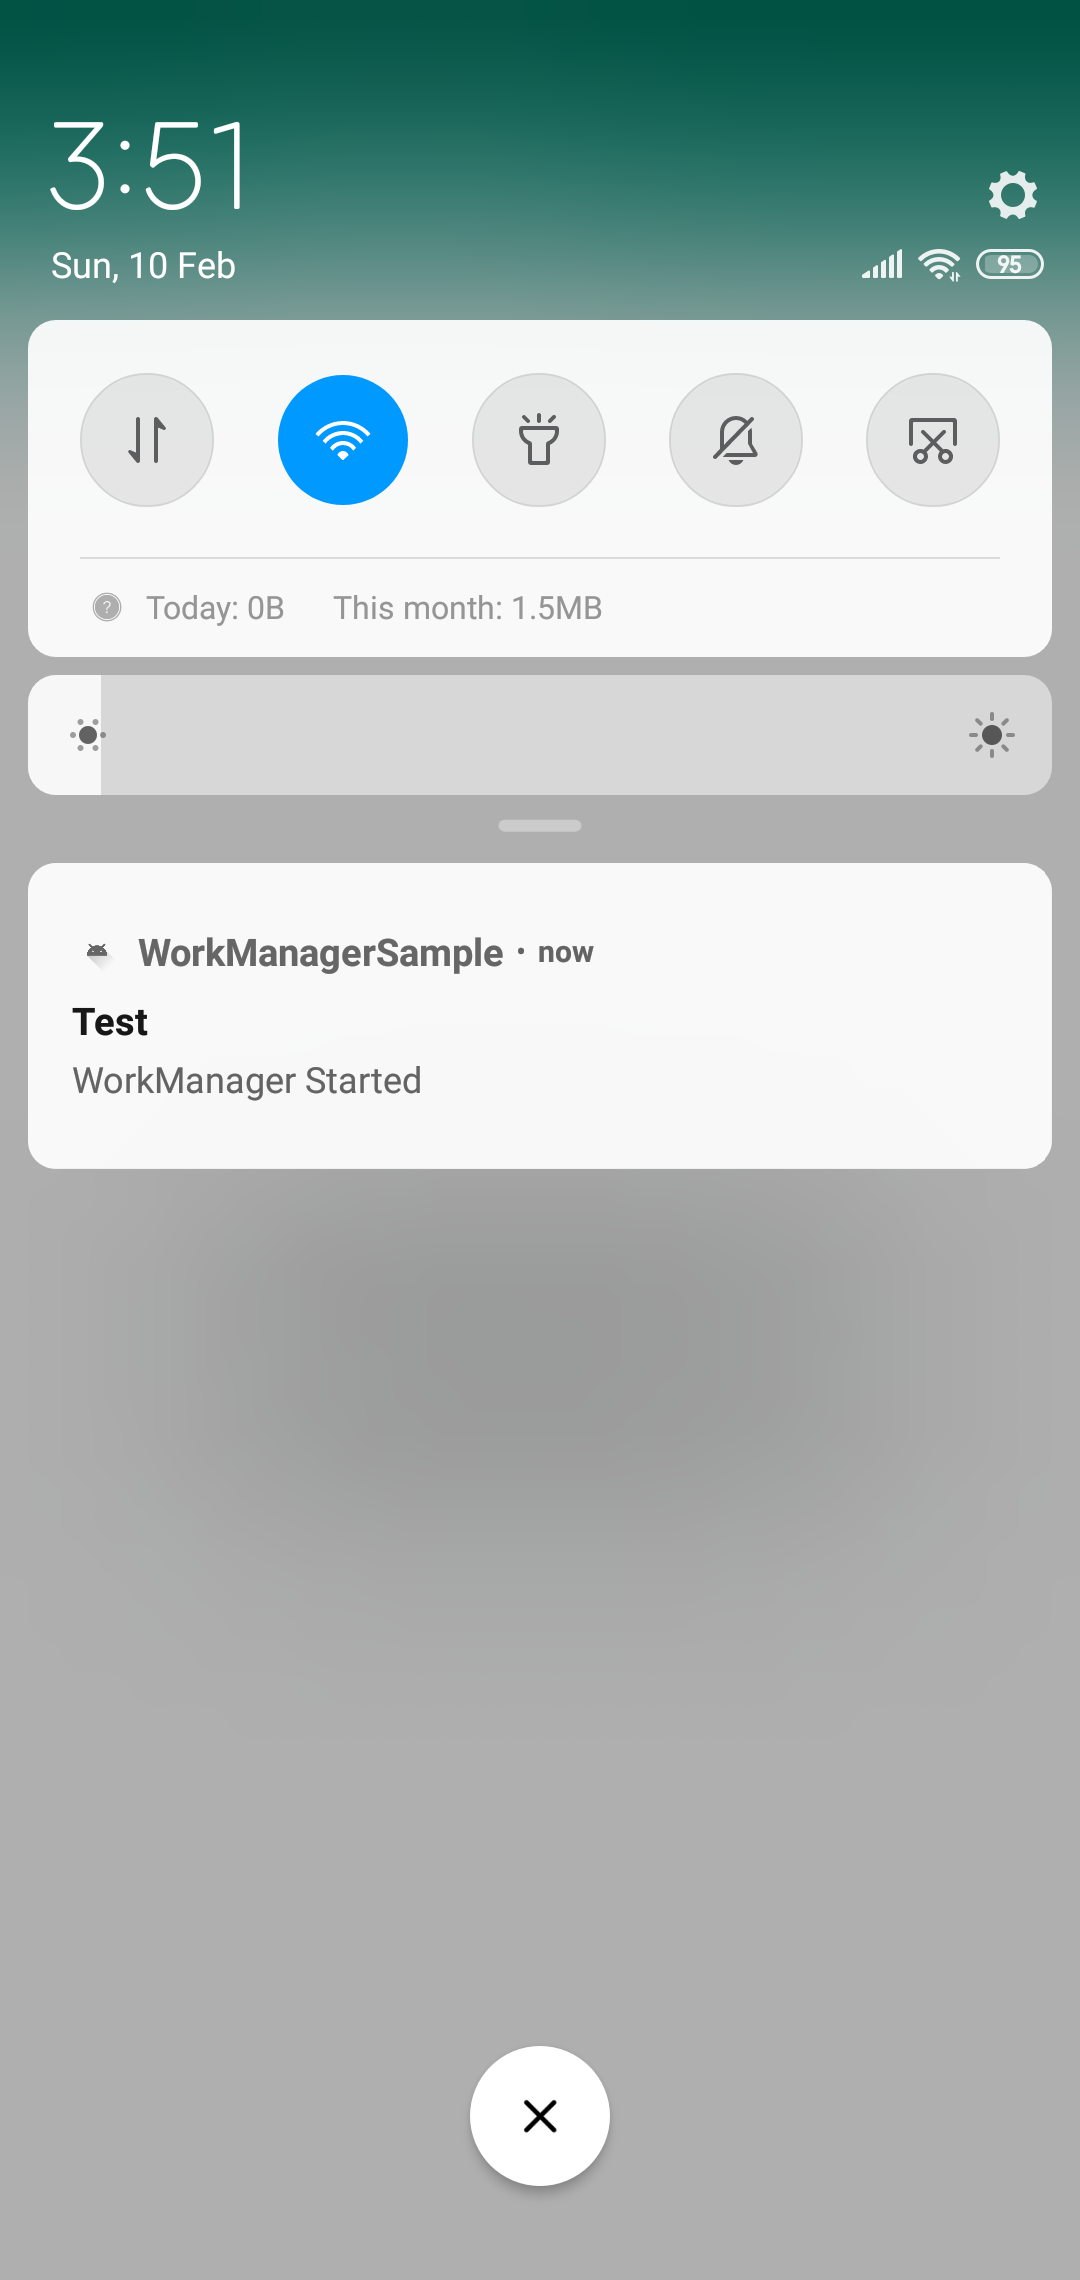
Notification App
Now, Let's dive into the code. We will build the simple Notification App which contains two buttons. On Click of First Button, Notification will be displayed only once and On Click of Second Button, Notification will be displayed once every 24 hours.
Let's begin the coding!!!
Dependencies
Open build.gradle (Module:app) and add the following WorkManager dependency.
Make sure you have the latest version of dependencies. You can check the latest version here
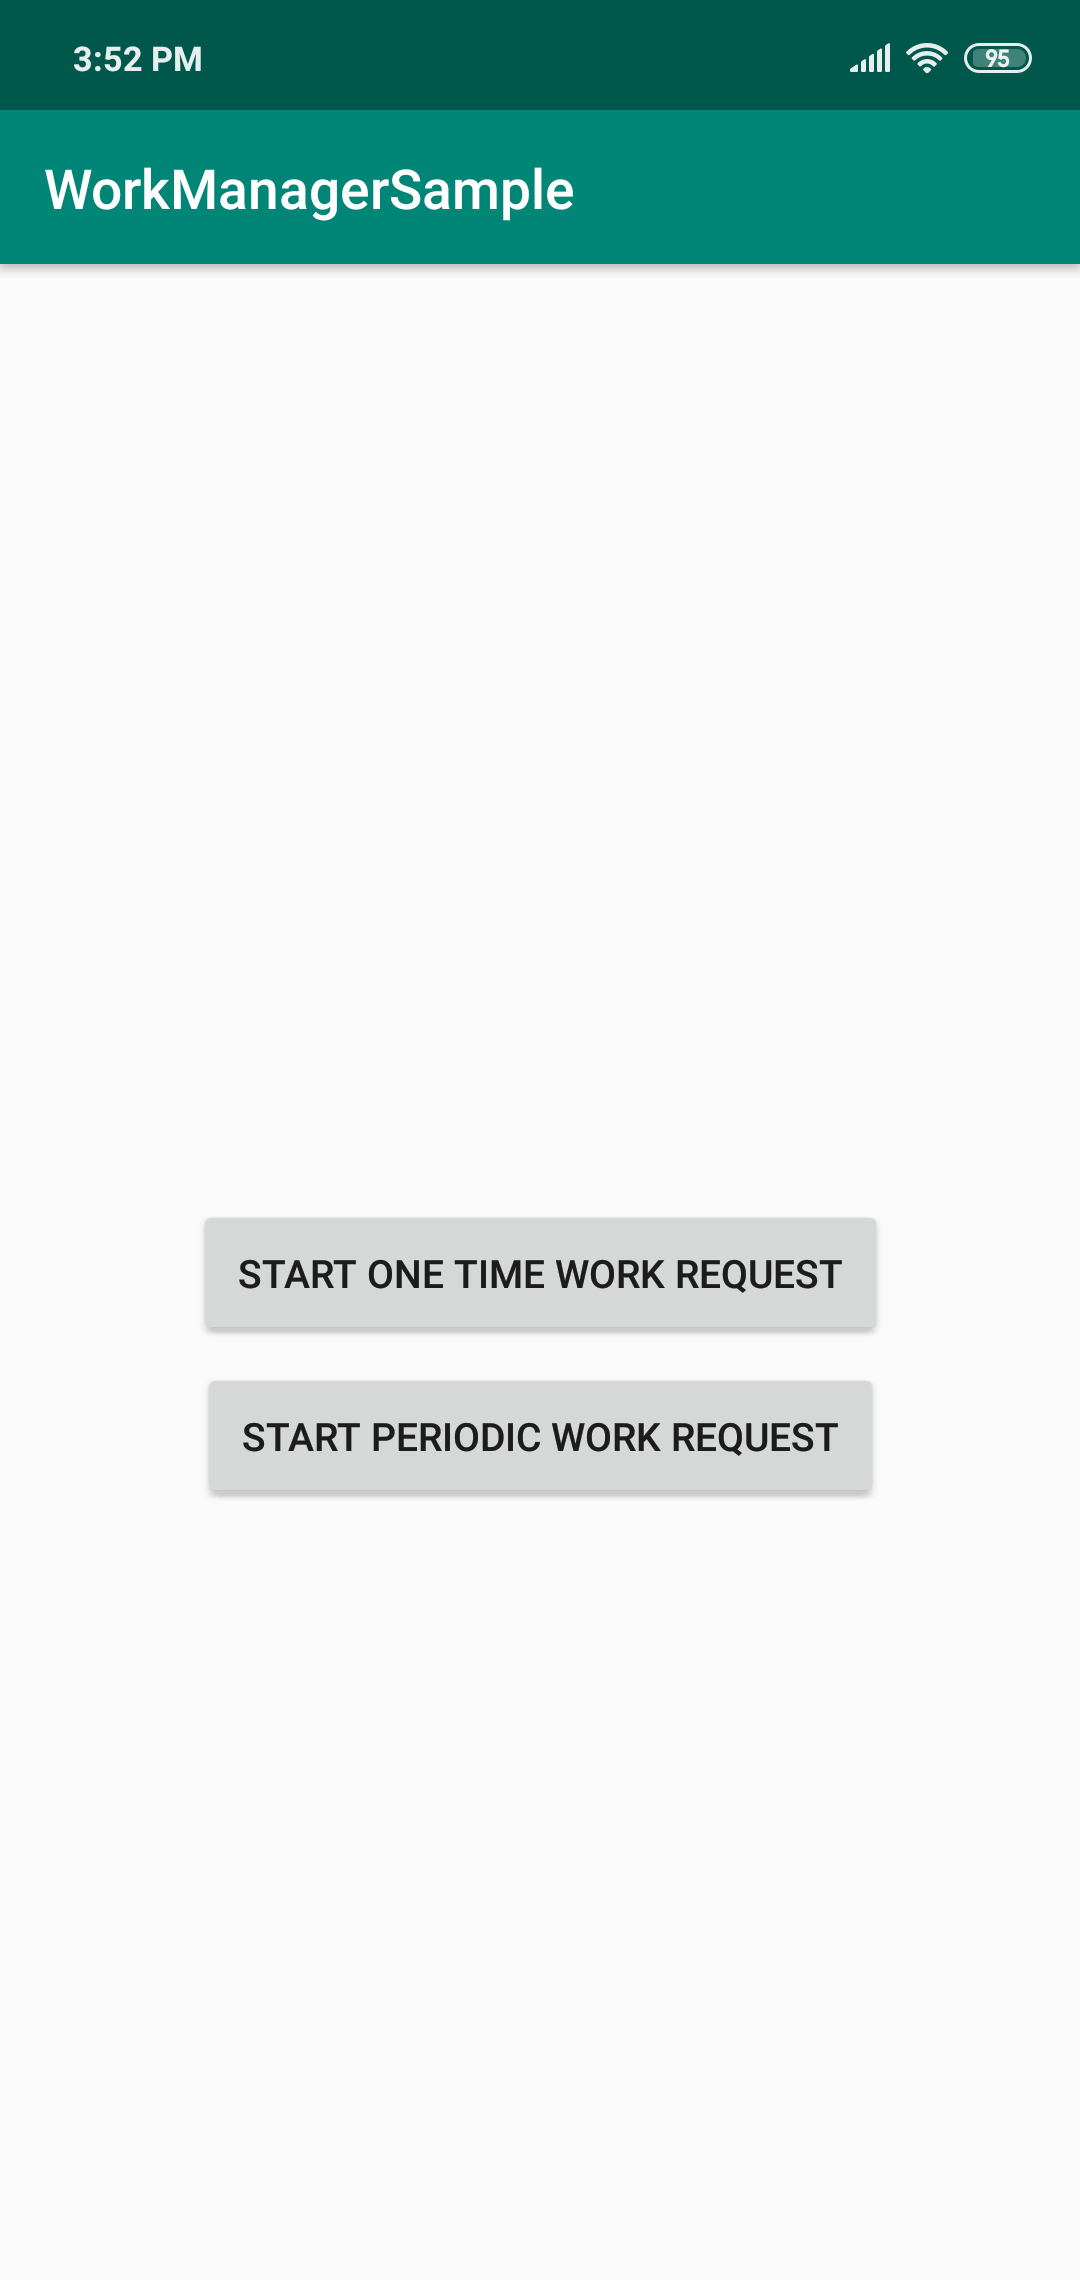
Designing MainActivity Layout
Add the following code in your activity_main.xml file. This layout contains two buttons. When the First Button is clicked then Notification will be displayed only once, and when Second Button is clicked, then Notification will be displayed once every 24 hours.
Create Utils Class
Make a utility class named Utils.java and put the following code inside it. This class contains the code for displaying the Notification to the user.
Creating Worker Class
Now, We will create the Worker Class where we will call the method which will display the notification.
- Extends Worker Class :
The first step is to extends our custom class with Worker Class and override the default constructor.
- Override doWork() method :
The second step is to override the doWork() method where our actual background processing takes place. In this method we will call the sendNotification() static method of Utils class and pass the context as it's parameter. We will write the code inside try catch block to handle the exception if any.
In try block, call the sendNotification() method and return Result.success() method and in catch block, log the exception message and return Result.failure() method.
That's all for this class!. Now we will go to MainActivity
Setting Up MainActivity
In this section, we will setup the basic code in MainActivity
- Declaring Objects :
In this step, declare the WorkManager class object and AppCompatButton class objects above the onCreate() method.
- Initializing Objects :
In this step, initialize the WorkManager class object which was declared in above step and
give the reference of those two buttons using findViewById method inside onCreate() method.
OneTimeWorkRequest
In this section, we will build the OneTimeWorkRequest with WorkManager.
- Setting Click Listener :
In this step, set the OnClickListener on first button in the layout.
- Specifying Constraints :
In this step, build the Constraints object using Constraints.Builder() inside the onClick() method.
Constraints object is basically a set of conditions or a condition which needs to be fulfilled before the WorkRequest can run. For more information on the set of constraints refer here. In this case, we are specifying two Constraints, First one it does not requires charging to run the WorkRequest and the second one is, App needs to be connected to any network in order to run the WorkRequest.
- Building WorkRequest and enqueue it :
In this step, build the OneTimeWorkRequest using OneTimeWorkRequest.Builder() function and pass the NotiWorker class as it's parameter. After that, set the Constraints to it so that when all those constraints are fulfilled, then only it can run, and at last build it. Finally, enqueue this WorkRequest using enqueue() method of WorkManager class for background processing.
That's all you have created the OnTimeWorkRequest!!!
PeriodicWorkRequest
In this section, we will build the PeriodicWorkRequest with WorkManager.
- Setting Click Listener :
In this step, set the OnClickListener on second button in the layout.
- Specifying Constraints :
The constraints are exactly the same here as with the OneTimeWorkRequest. The phone must be charging and must be connected to a network.
- Building WorkRequest and enqueue it :
In this step, build the PeriodicWorkRequest using PeriodicWorkRequest.Builder() function and pass the following parameters to it.
- Worker Class :
Pass the Custom Worker class you have created (In this case, it is NotiWorker class) as it's first parameter.
- repeatInterval :
Pass the repeat Interval value as it's second parameter. In this case, we are passing 24.
- repeatIntervalTimeUnit :
Pass the TimeUnit for repeat interval. In this case, we are passing TimeUnit.HOURS, because we want the Notification to be displayed once every 24 hours.
- Worker Class :
That's all you have created the PeriodicWorkRequest!!!
That's All! Happy Coding!
The complete code is available here.
Staying in the Loop
If you want to stay in the loop and get an email when I write new blog posts, Follow me on Instagram or join the CodingWithMitch community on my website. It only takes about 30 seconds to register.
Authors

- Declaring Objects :
Create an Account
CodingWithMitch Members
Unlimited access to all courses and videos
Step by step guides to build real projects
Video downloads for offline viewing
Members can vote on what kind of content they want to see
Access to a private chat with other communnity members & Mitch
CodingWithMitch Members
Unlimited access to all courses and videos
Step by step guides to build real projects
Video downloads for offline viewing
Members can vote on what kind of content they want to see
Access to a private chat with other communnity members & Mitch
Comments