Table of Contents:
- Introduction
- What is a Glide?
- Features of Glide
-
An Example:
Introduction
In this blog I'm going to show you how to work with Glide library in Android.
What is a Glide?
Glide is an Image Loader Library for Android and is recommended by Google itself. It is developed by bumptech. It provides animated GIF support and handles image loading/caching. By default, each image loaded with Glide is cached in the Memory or Disk. Before Glide, developers would have to write a TON of boilerplate code to display images, process images, download images and cache images. But, with Glide, all these things are possible with just few lines of code. Also, it is open source therefore you can always check out its code here.
Features of Glide
Glide offers some great features which are discussed in this section
- Easily set images to ImageViews
You can set images from internet url's, drawables, and many other sources. Glide is very flexible. - Animated GIF Decoding
Glide supports loading of animated gifs and you can decode them as Bitmap to load it as a still image or you can load it as a gif. - Thumbnail support
Glide supports the feature of thumbnail. This feature basically loads the blurred image into the view as a thumbnail so that user don't need to see the loading indicator, and when the original image is ready to be displayed, it display it in a view. - Lifecycle integration
Requestes made with Glide are lifecycle aware which means that requests are paused in onPause() method to avoid battery drainage and started in onStart() method. - Caching
Glide supports caching while loading the image. By default, when image is loaded, it is cached in the memory and disk so that when user tries to load the same image, then it is loaded from the memory instead of again fetching it from the url. - Transformations
Glide supports some built in transformations like circleCrop, fitCenter, centerCrop, etc.
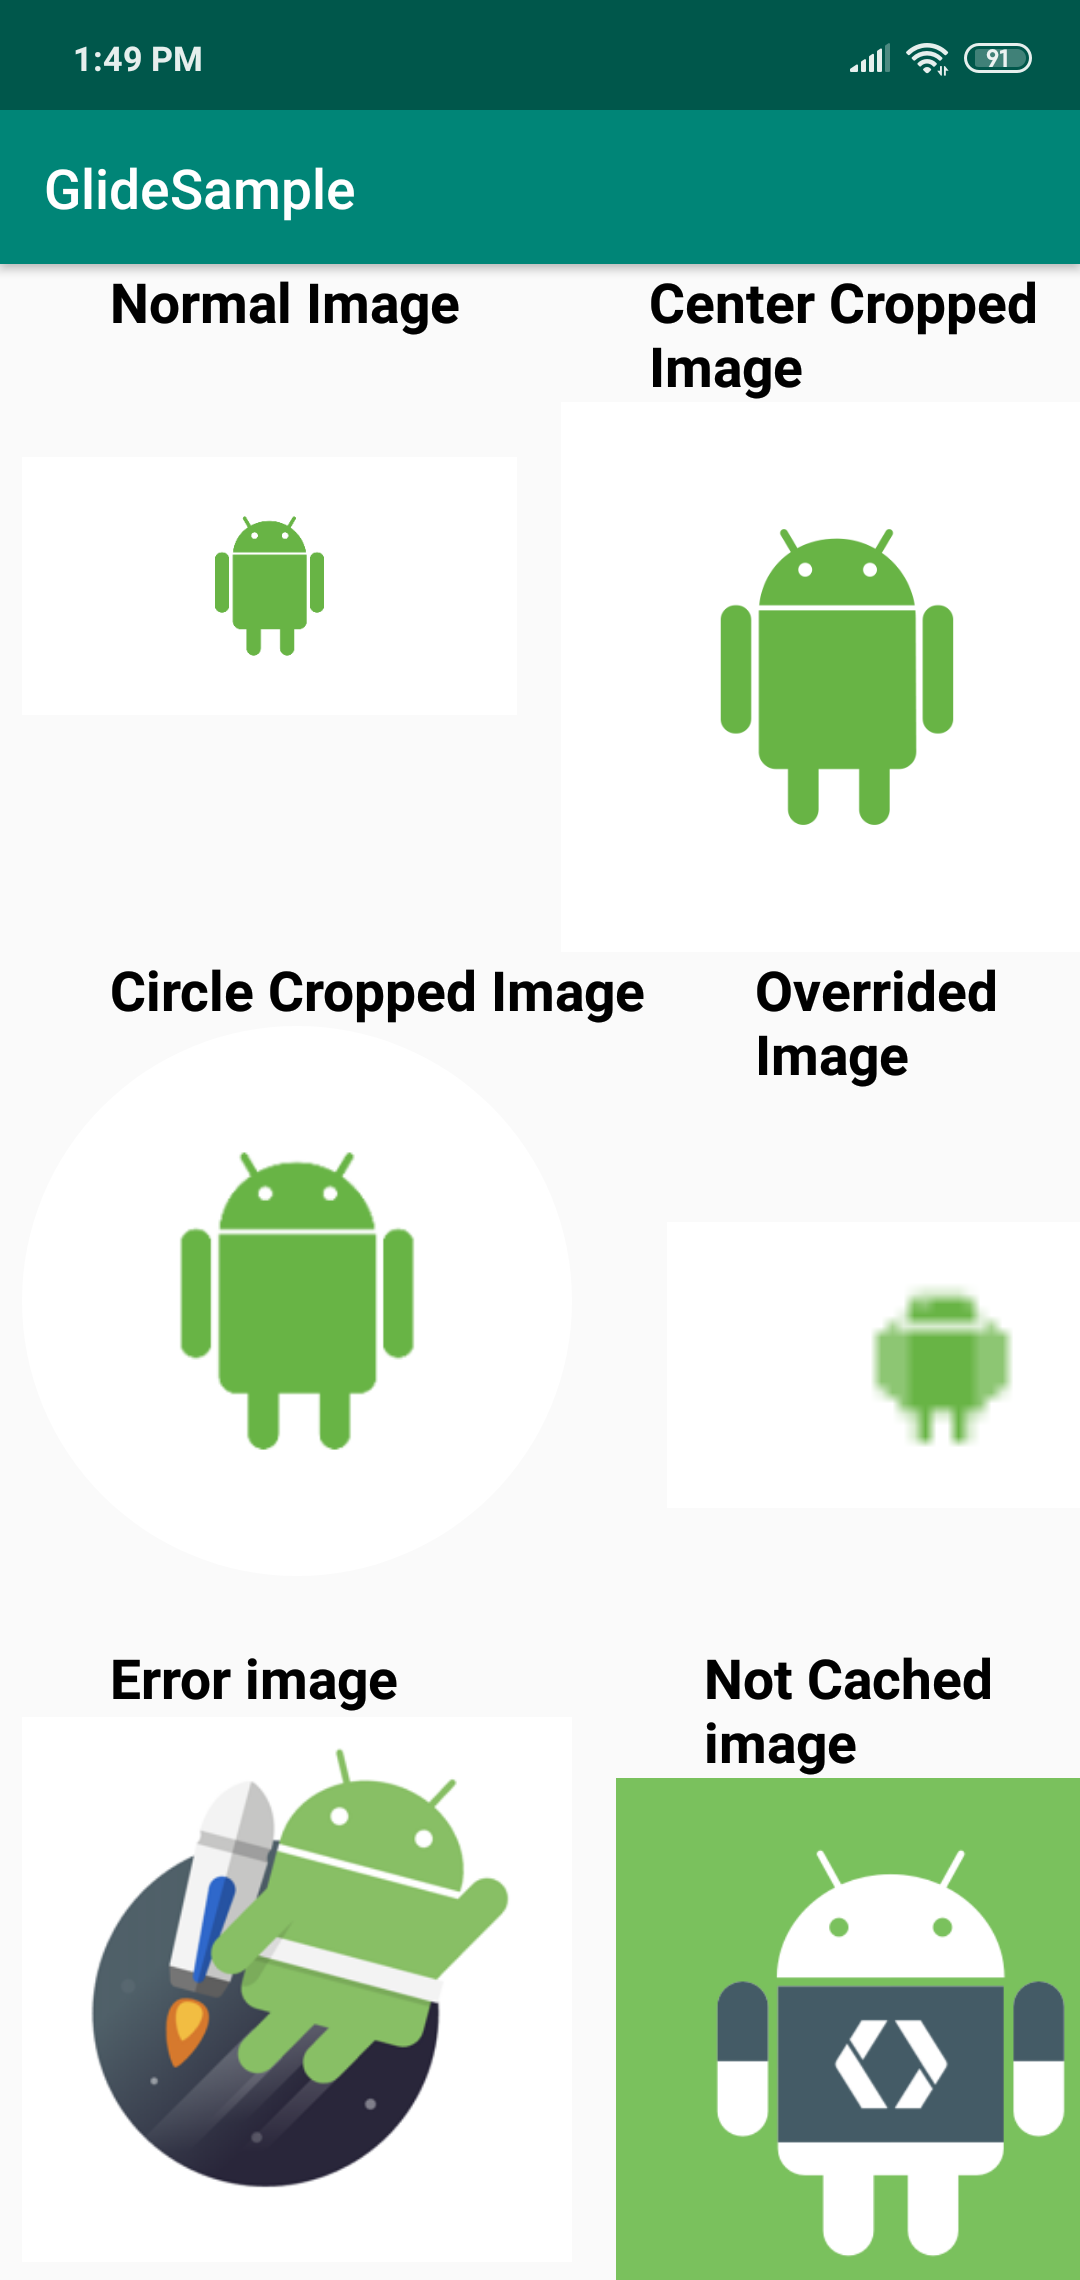
Glide Sample App
Now, Let's dive into the code. We will build the Simple App which contains some images showing different features available in Glide.
Let's begin the coding!!!
Dependencies
Open build.gradle (Module:app) and add the following Glide dependency.
Make sure you have the latest version of dependencies. You can check the latest version here
Designing MainActivity Layout
Add the following code in your activity_main.xml file. This layout contains combination of LinearLayouts to display the image in either vertical orientation or in horizontal orientation
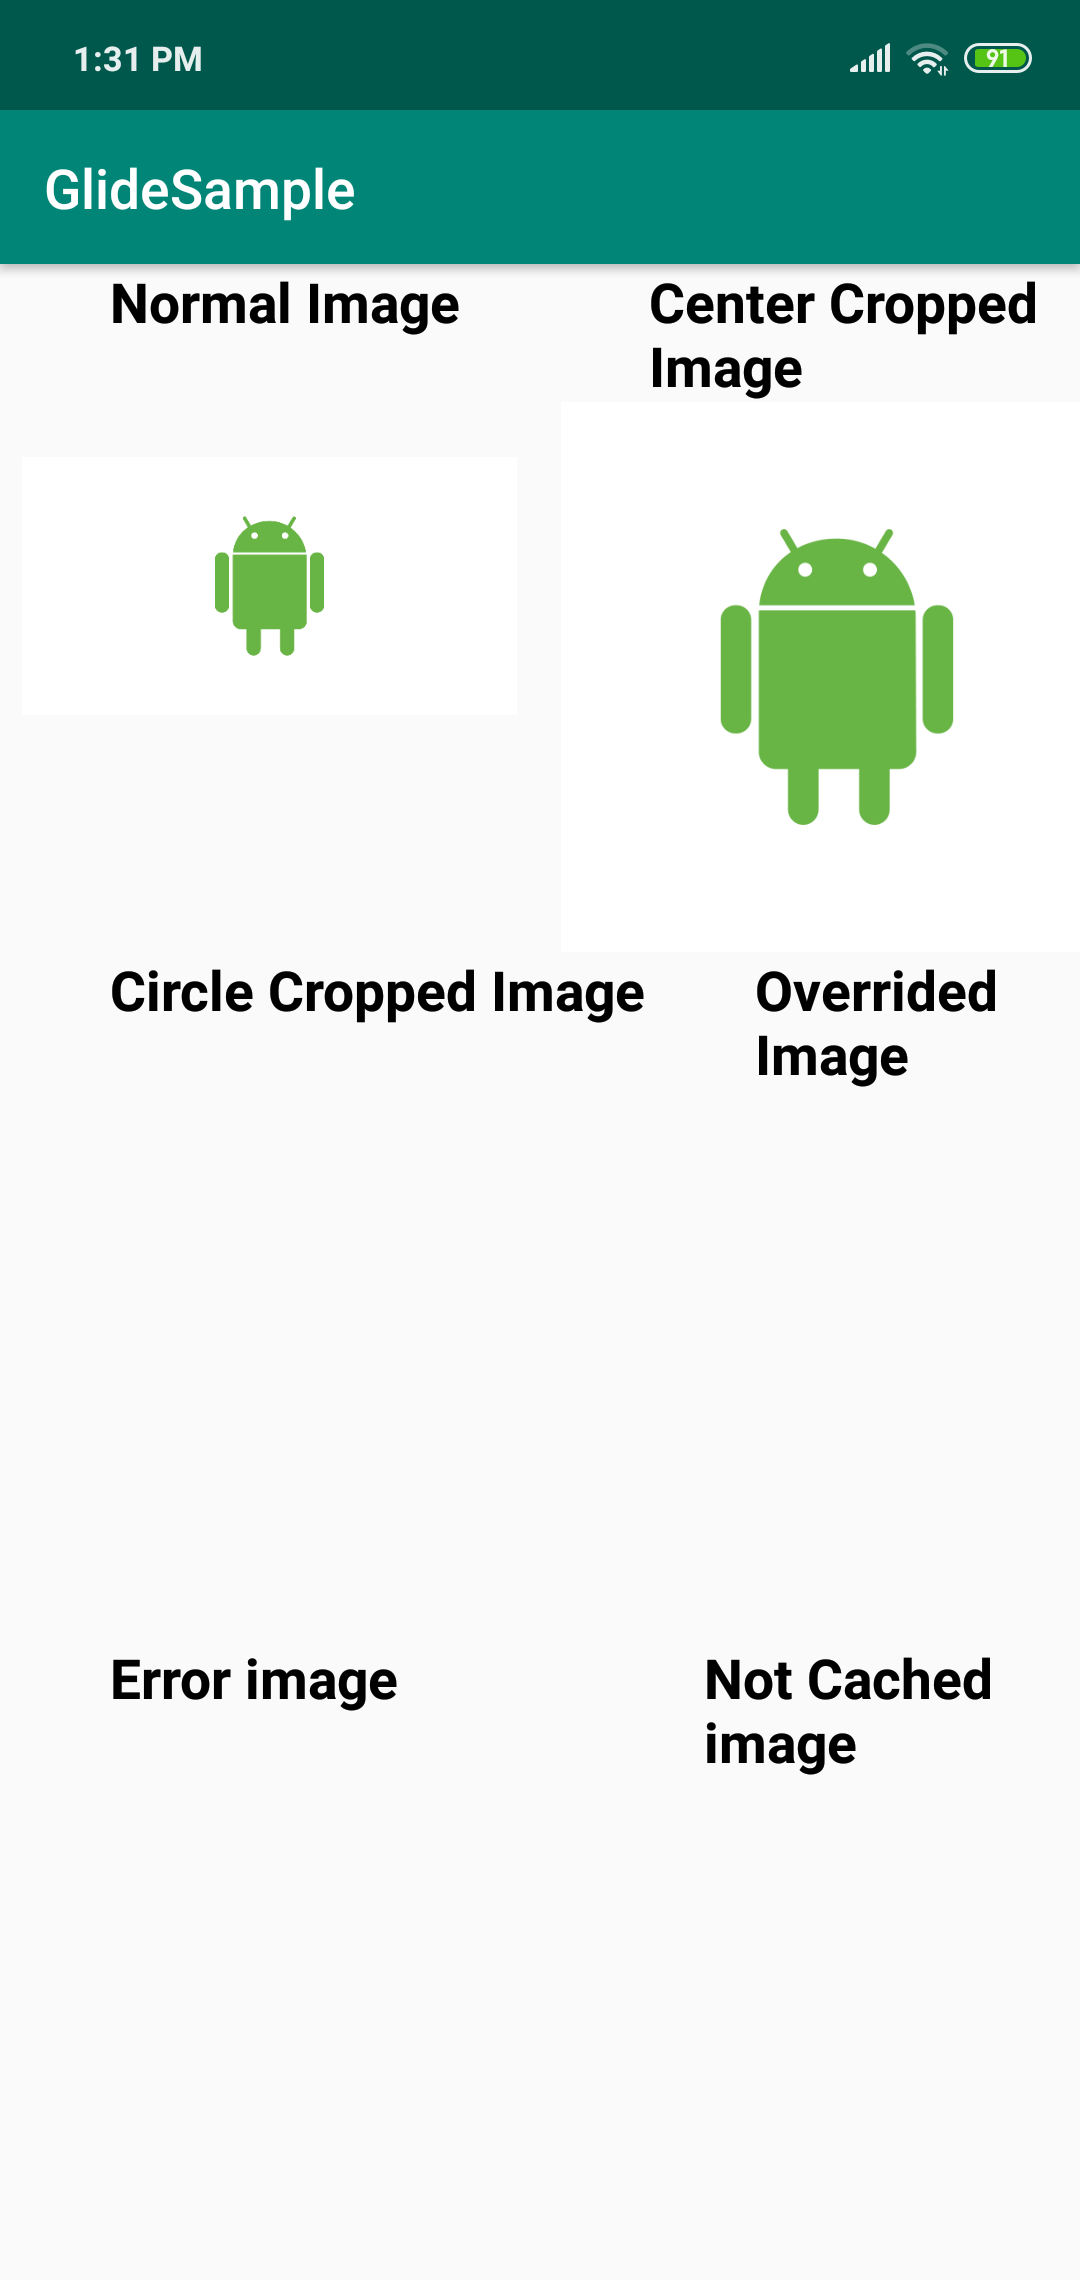
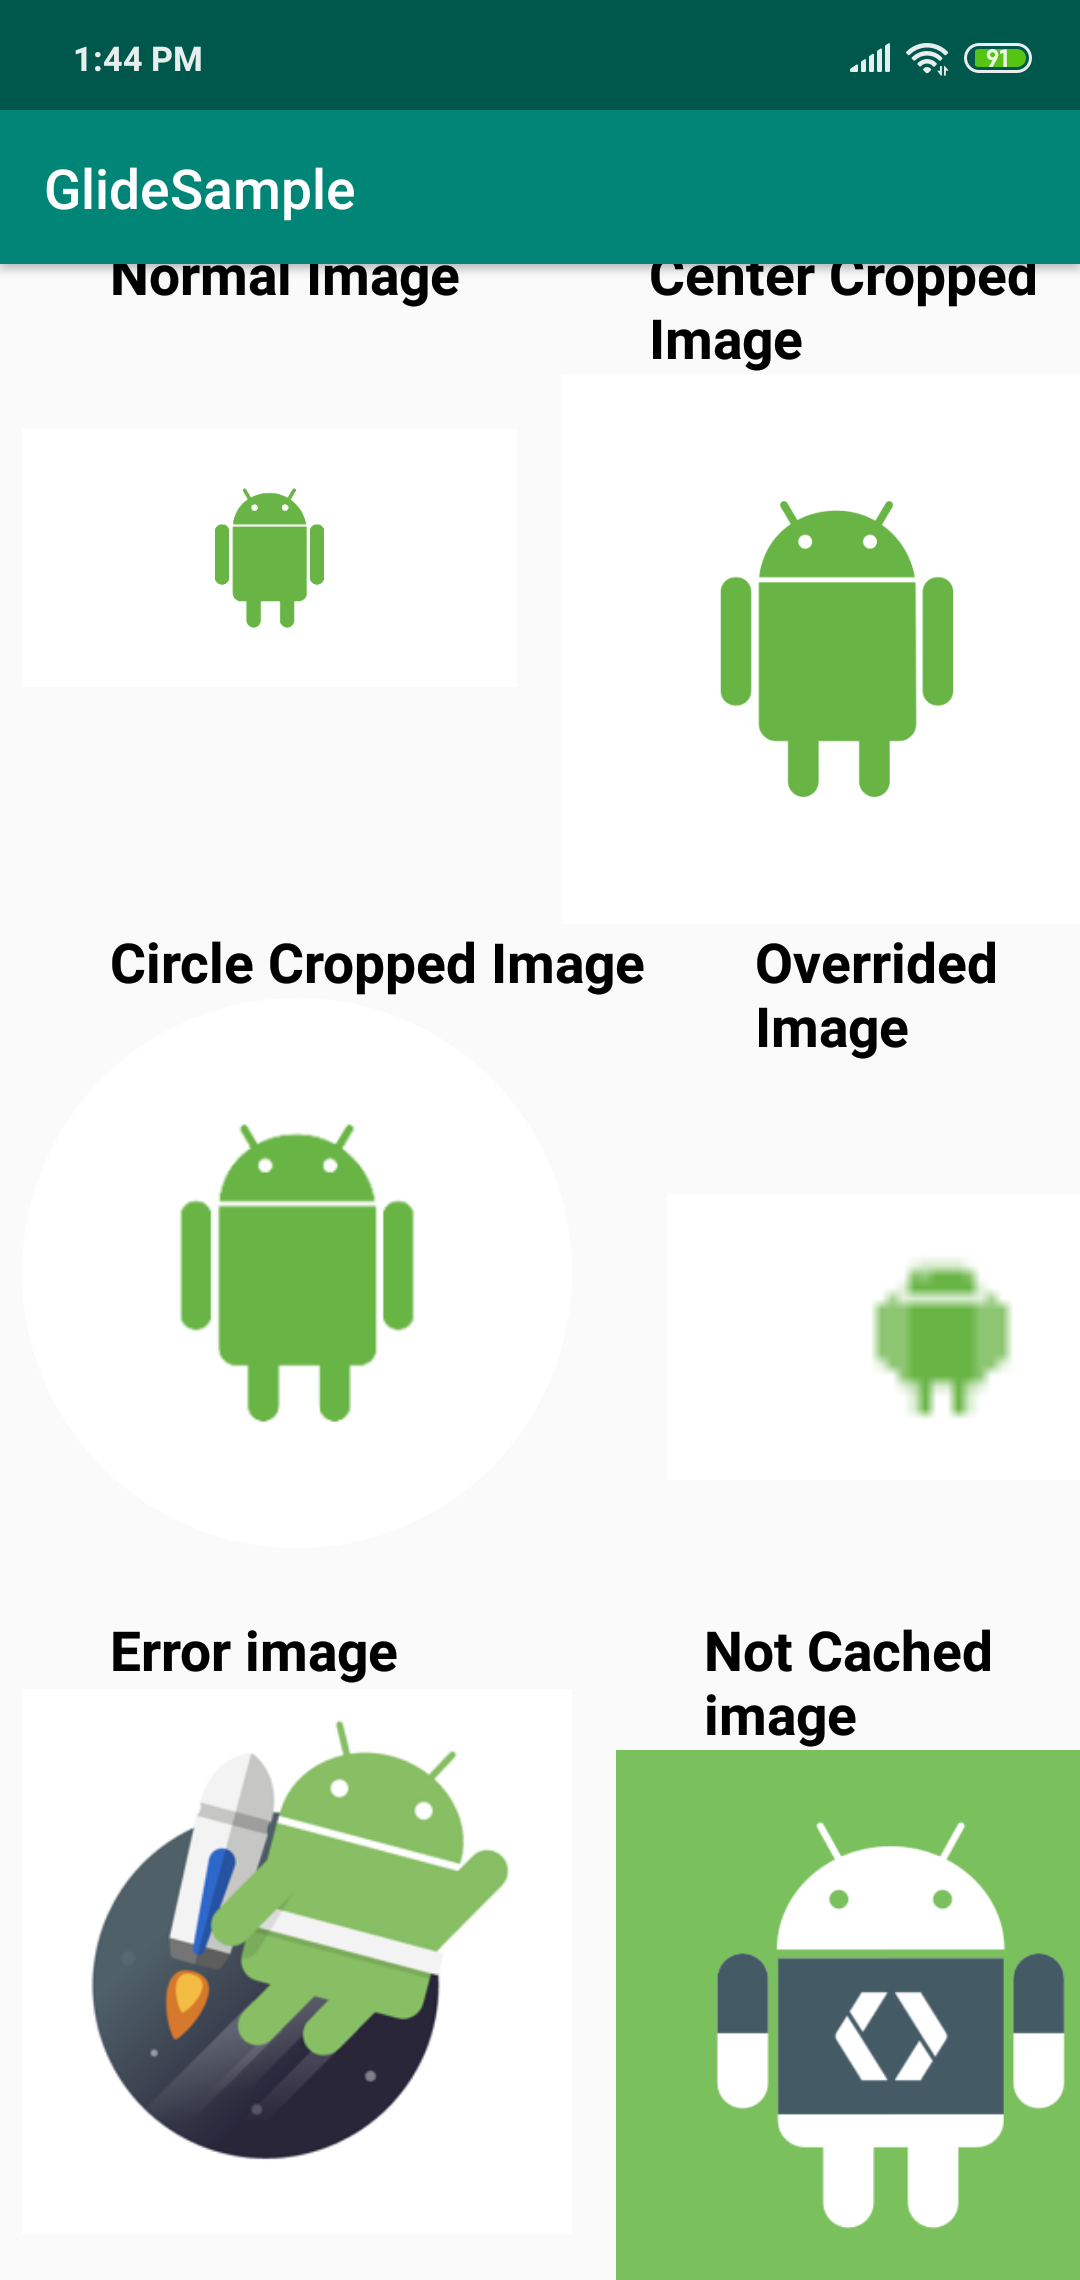
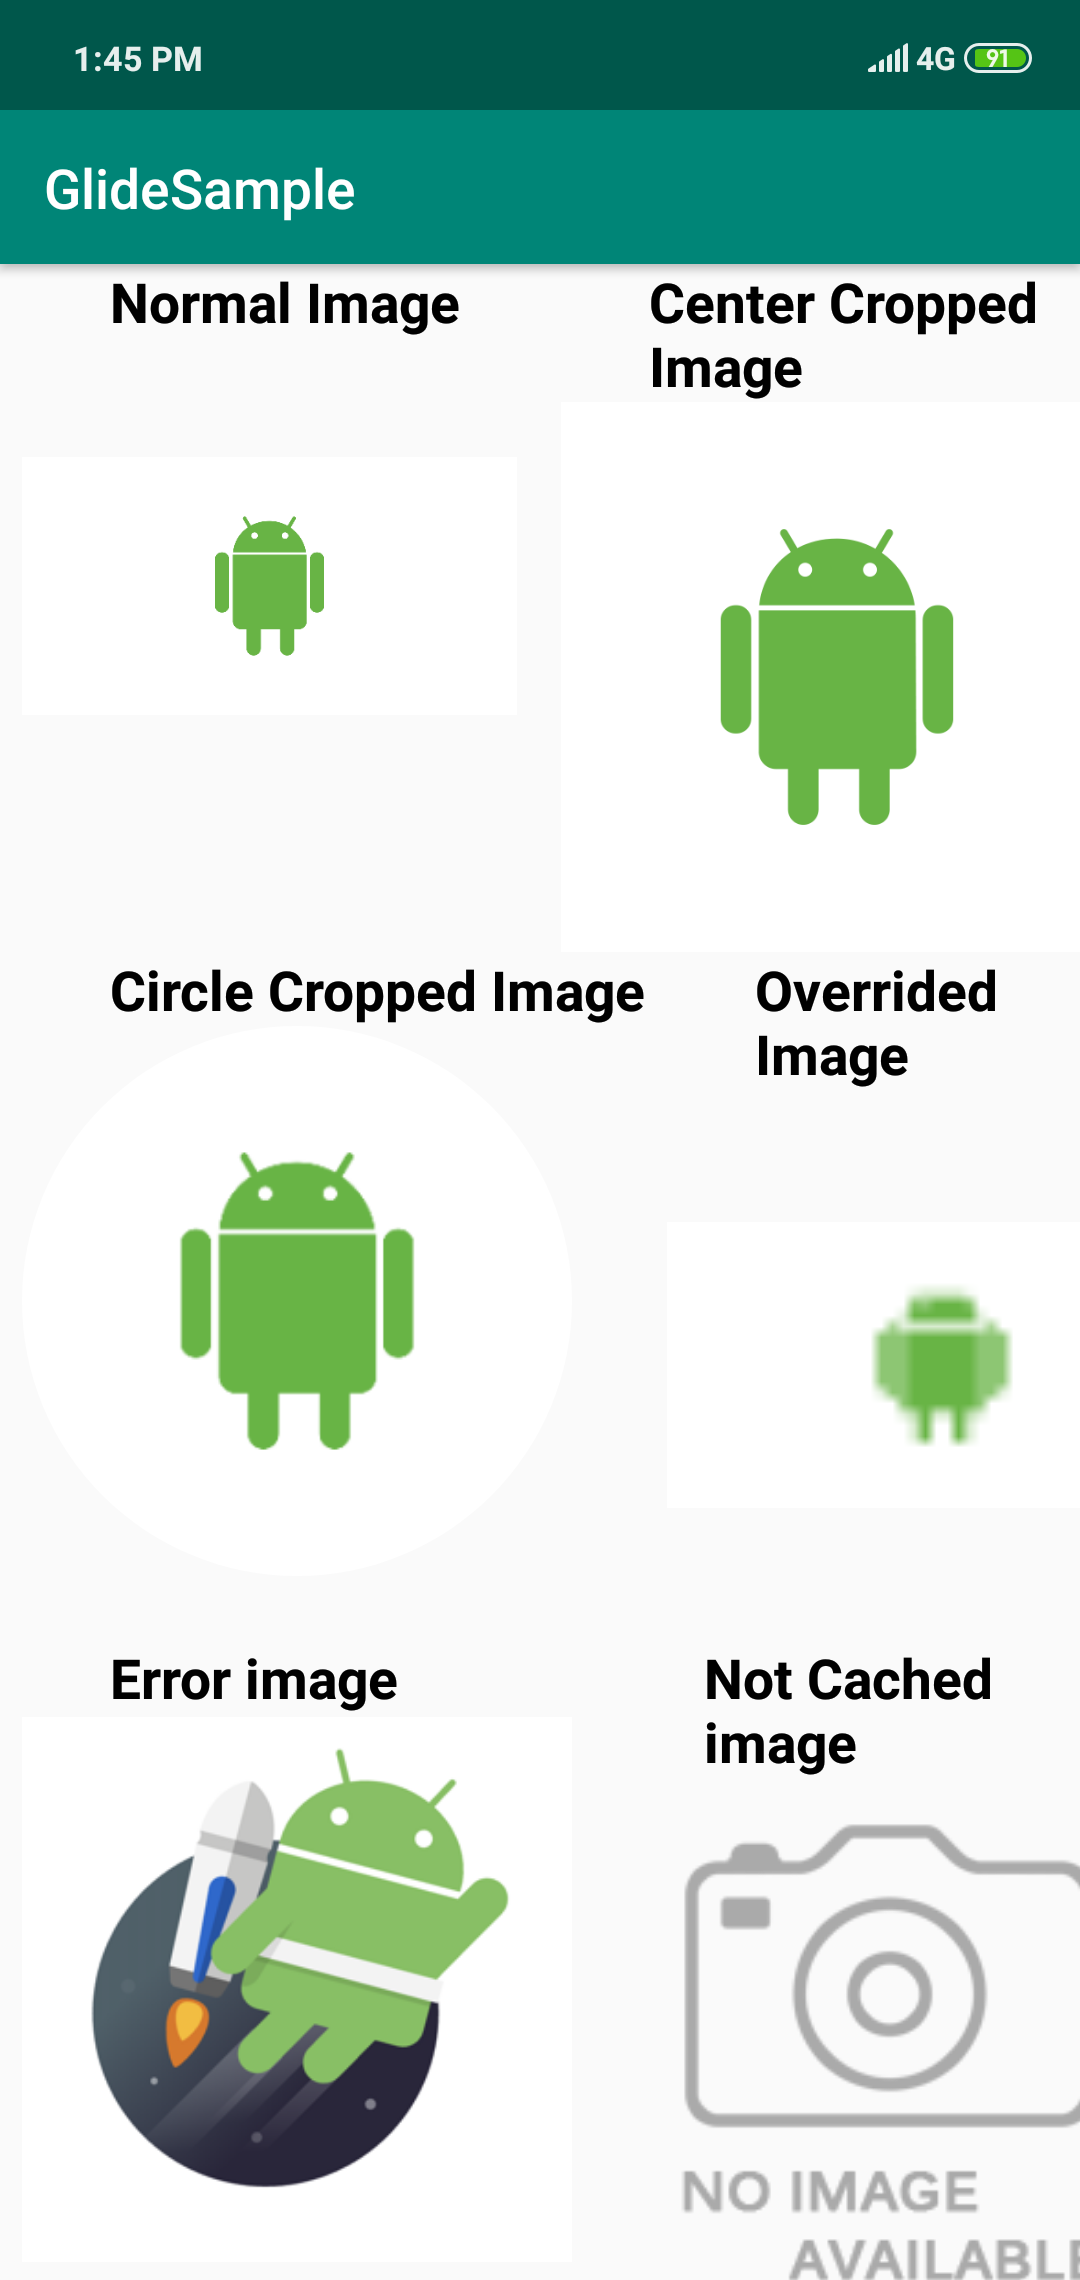
Displaying Normal Image
In this section, we will simply display the image from the url without customizing it.
-
First, Declare the ImageView object inside the MainActivity class and find the reference of that image
in the onCreate() method using findViewById() method.
-
Now, Load the image from the url and display it in the first ImageView.
In the below code, we are just calling the load() method of Glide library and passing the url of the image as a parameter to it and Finally we are setting that image into the first ImageView using into() method inside the OnCreate() method.
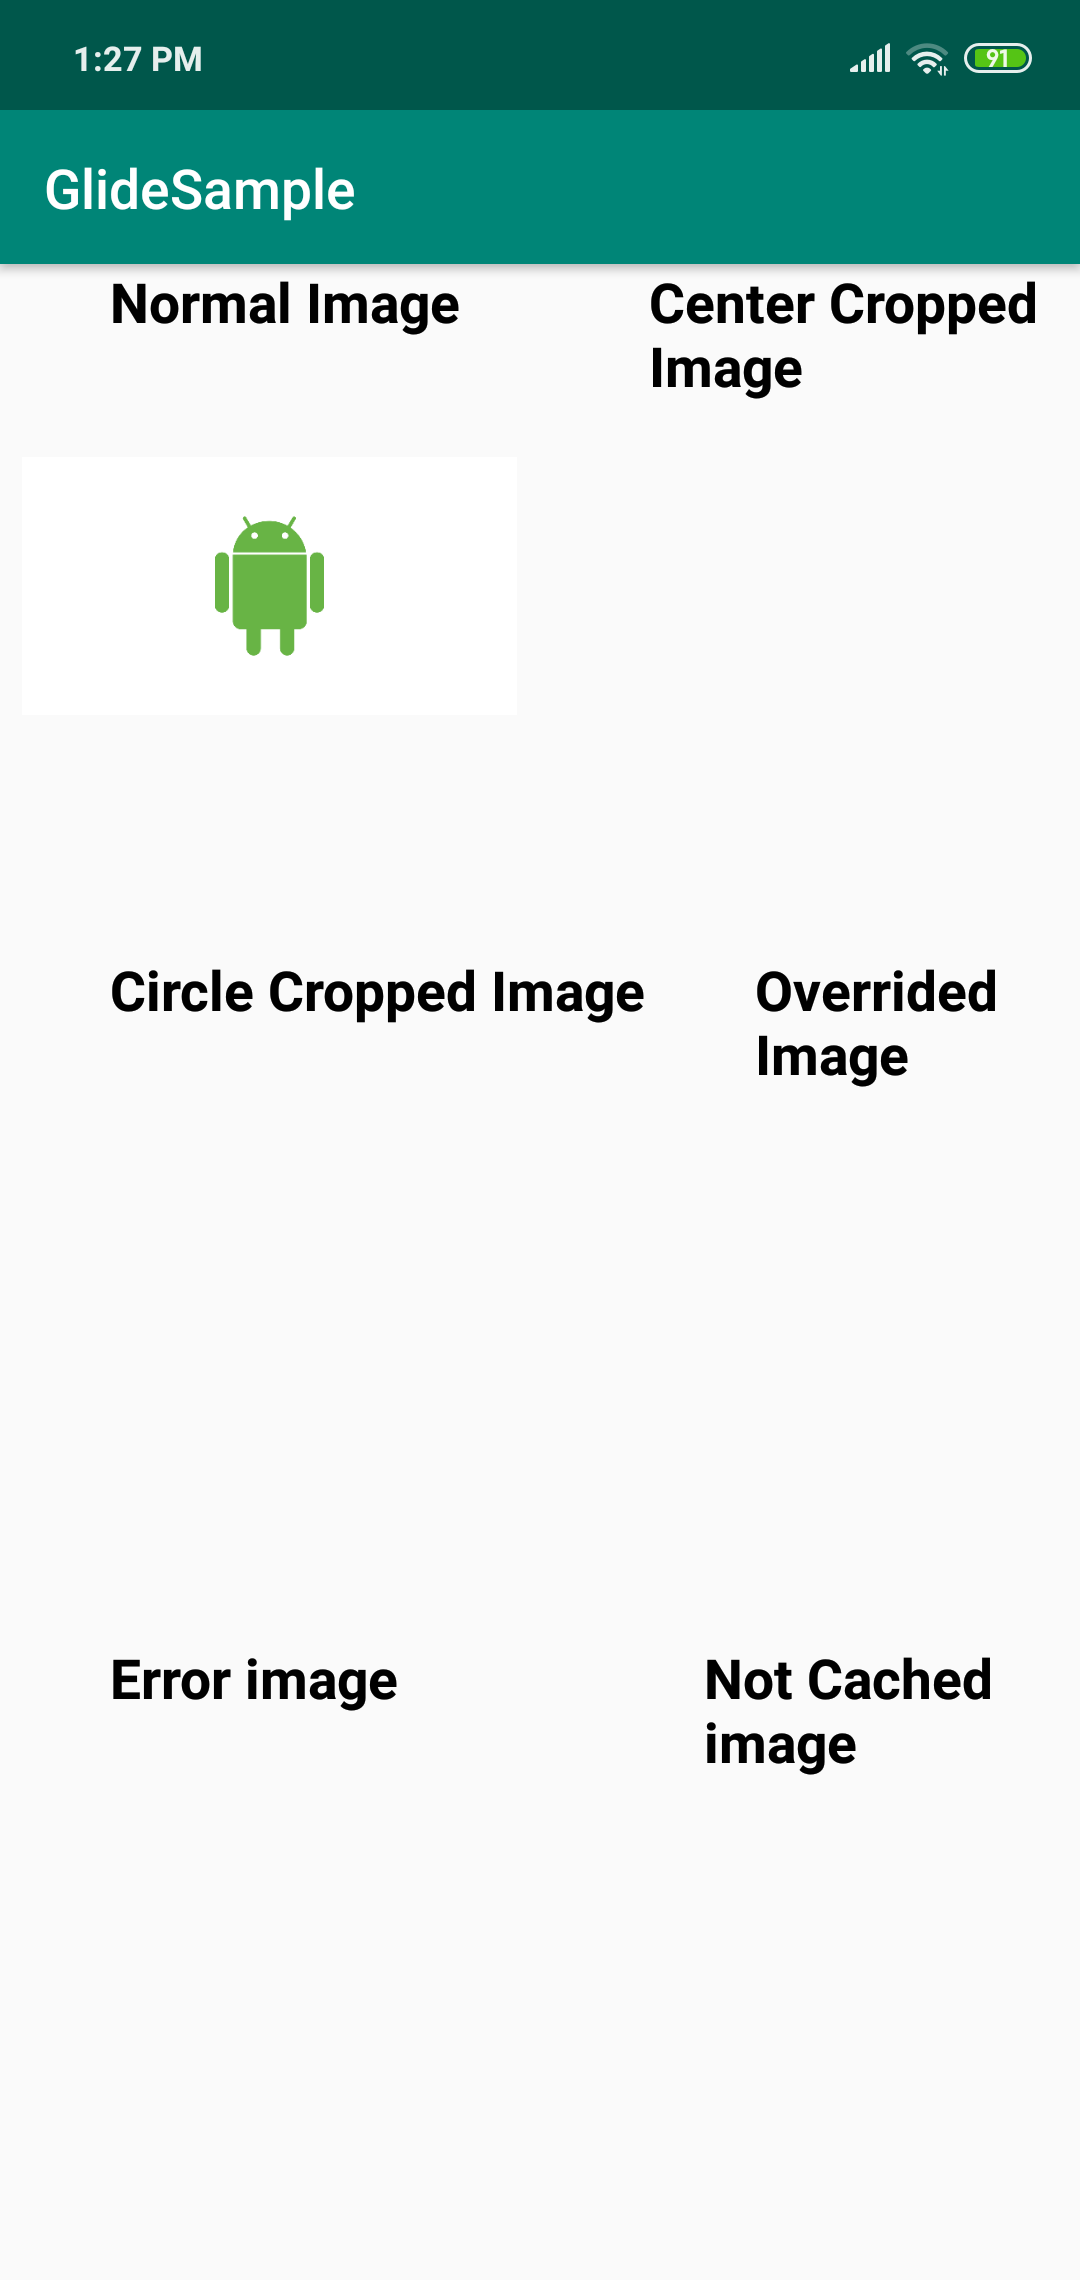
Displaying Cropped Image
In this section, we will display an Image with some cropping transformation. We will apply centerCropping and circleCropping to the Image. Before you start, you need to first understand what RequestOptions in Glide are.
RequestOptions : RequestOptions is basically a class defined in Glide library which provides several methods to customize the image you are fetching from the url.
- Center Cropped Image :
This part we'll be focussing on displaying the image with center cropped transformation.
-
First, Declare the ImageView object inside the MainActivity class and find the reference of that image
in the onCreate() method using findViewById() method.
-
Now, Load the image from the url and display it in the second ImageView.
In the below code, we are calling the load() method of Glide and passing the url of the image as a parameter to it and we are applying the RequestOptions directly in a RequestBuilder without the generated API and calling centerCrop() method, which basically scales the image such that both the x and y dimensions are greater than or equal to the view and centers the image in a view.
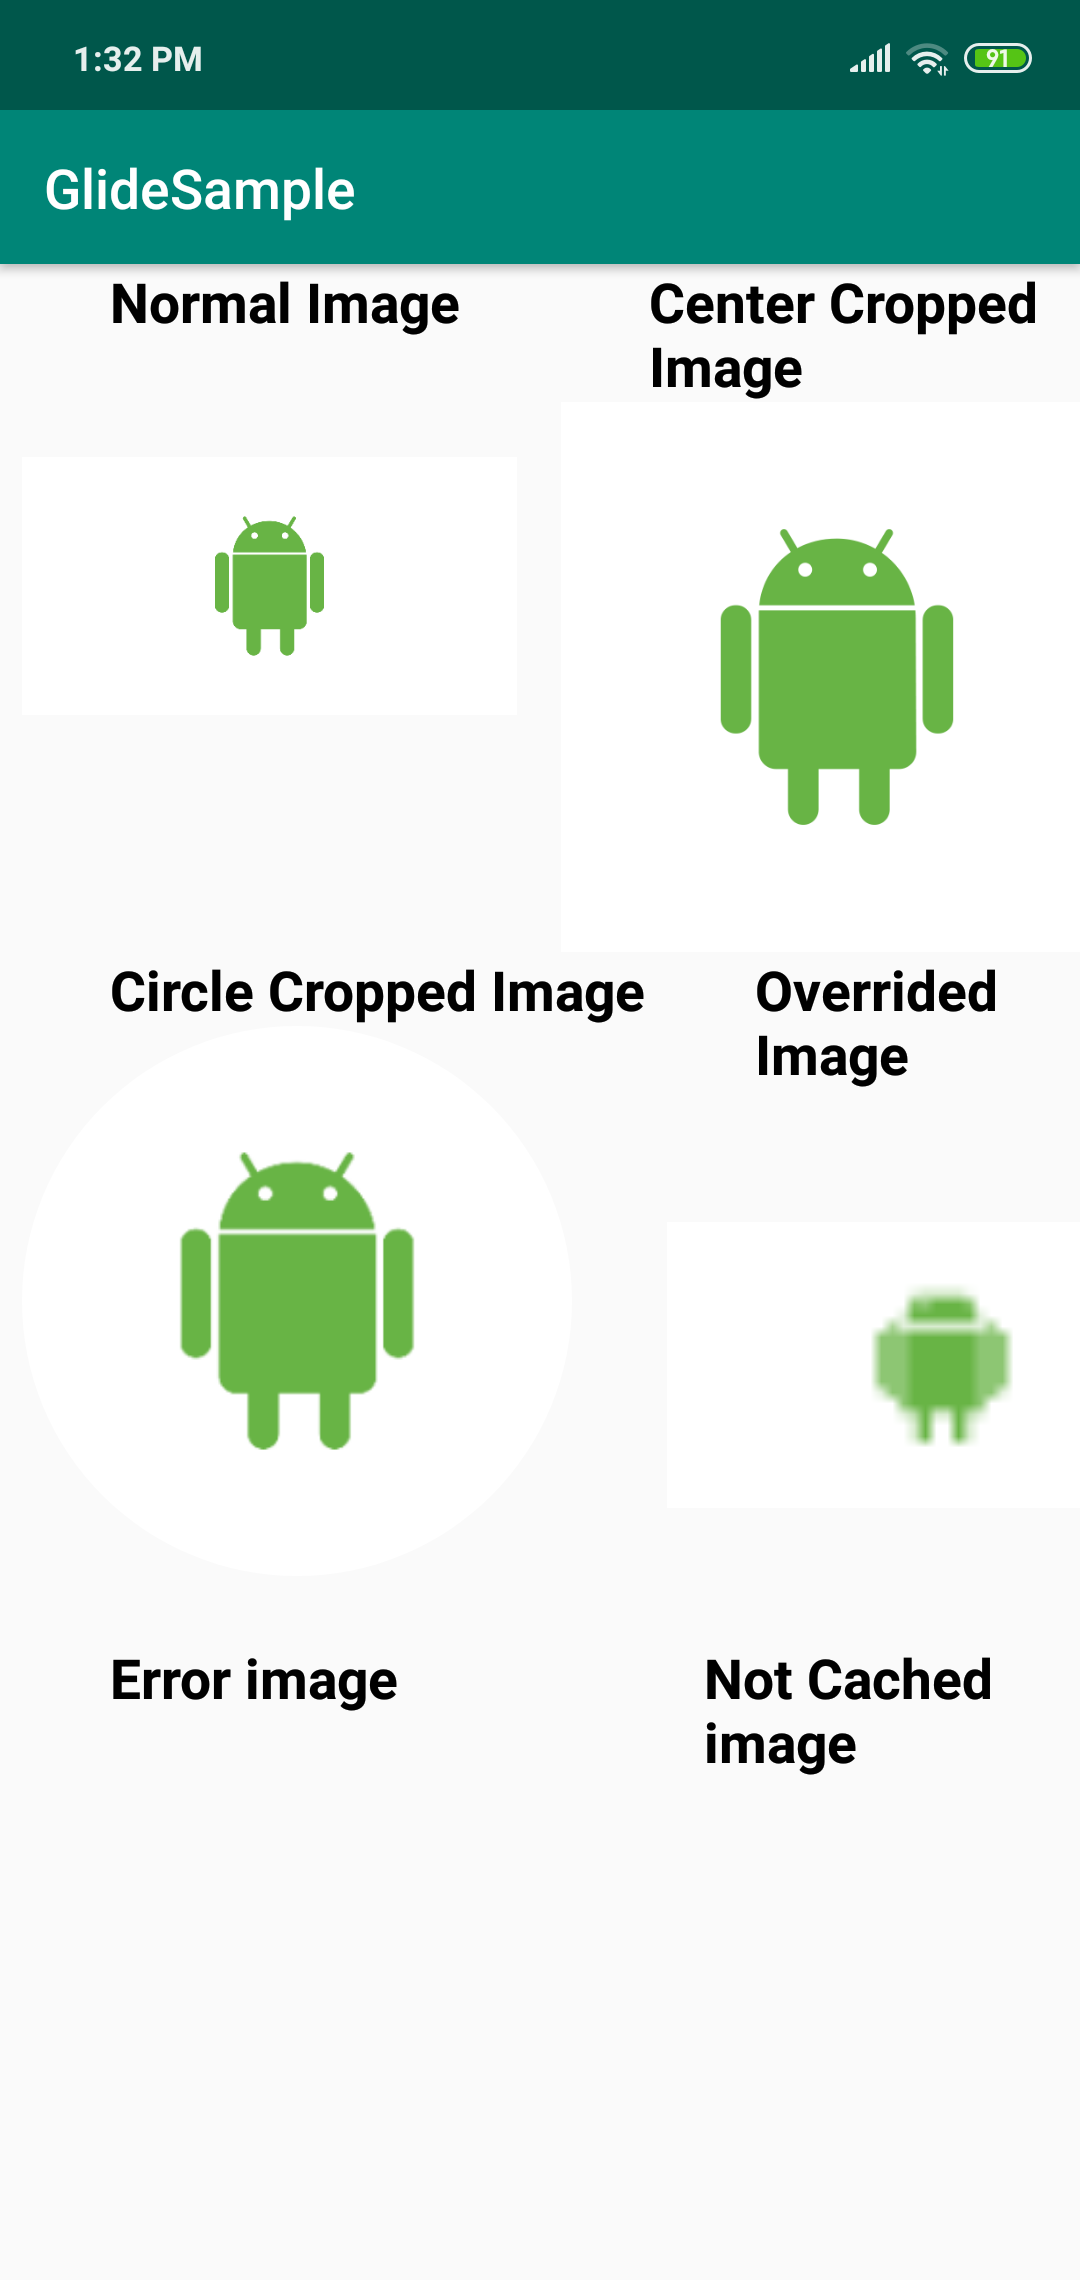
Current state of the app : -
First, Declare the ImageView object inside the MainActivity class and find the reference of that image
in the onCreate() method using findViewById() method.
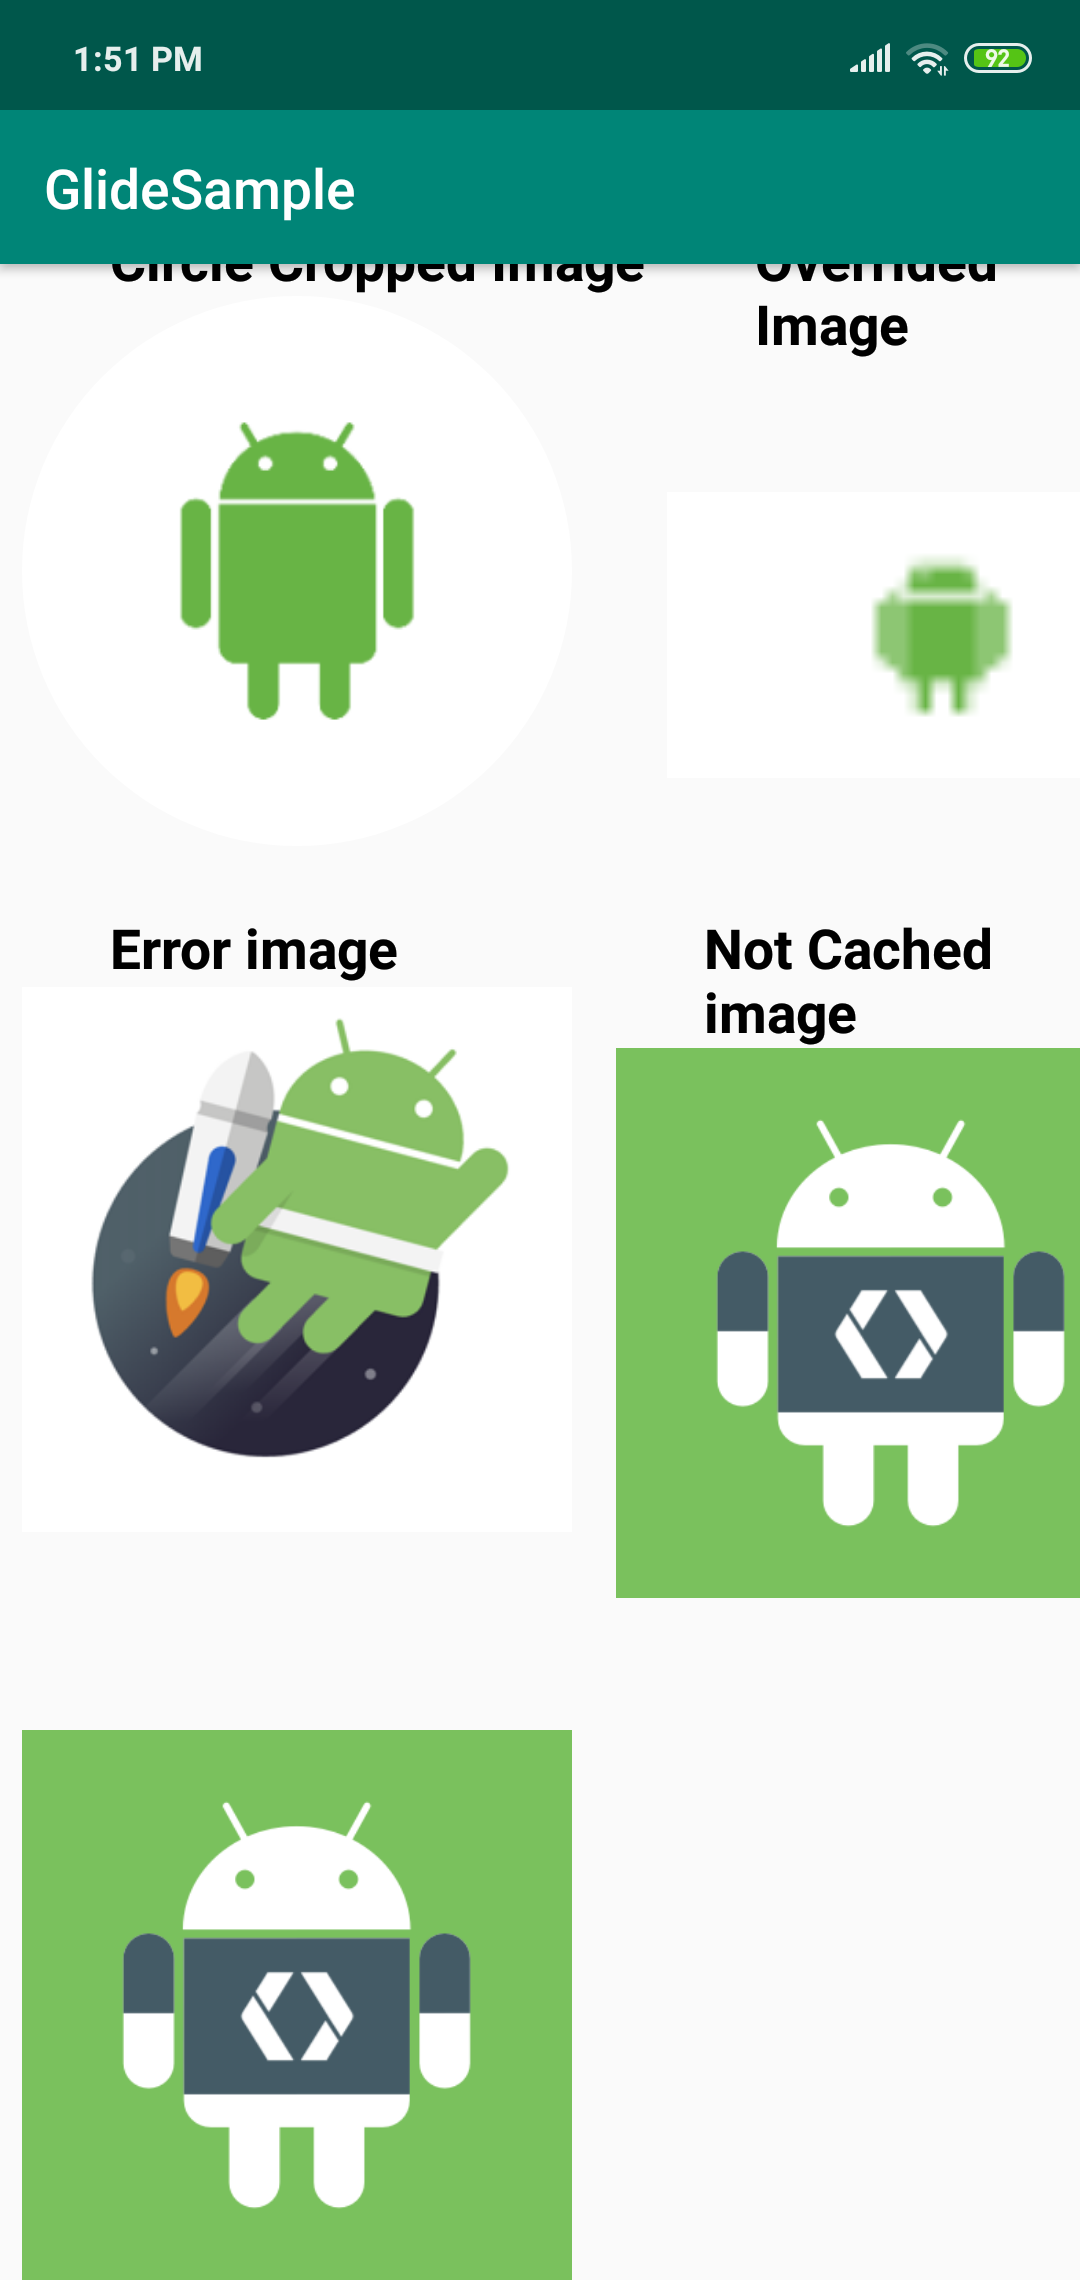
- Circle Cropped Image :
This part we'll be focussing on displaying the image with cirlce cropped transformation.
-
First, Declare the ImageView object inside the MainActivity class and find the reference of that image
in the onCreate() method using findViewById() method.
-
Now, Load the image from the url and display it in the third ImageView. In the below code, we
are calling the load() method and calling circleCrop() method, which basically
crops the image and transforms it into a cirlce.
Current state of the app : -
First, Declare the ImageView object inside the MainActivity class and find the reference of that image
in the onCreate() method using findViewById() method.
Displaying Low Resolution Image
In this section, we will display the low resolution image using override() method.
-
First, Declare the ImageView object inside the MainActivity class and find the reference of that image
in the onCreate() method using findViewById() method.
-
Now, Load the image from the url and display it in the fourth ImageView.
In the below code, we are loading the image using load() method. After that, we are calling override() method which takes two parameters - width & height. In this case, we are passing 50 as width and 50 as height which results in displaying the low resolution image Finally we are setting that image into the fourth ImageView.
Displaying Error Image
In this section, we will display the error image using error() method. This method gets called when there occurs some error fetching the original image from the url.
-
First, Declare the ImageView object inside the MainActivity class and find the reference of that image
in the onCreate() method using findViewById() method.
-
Now, Load the image from the url and display it in the fifth ImageView.
In the below code, we are loading the image using load() method. After that, we are calling error() method and passing the reference of errorImage which I have downloaded in the drawable folder as its parameter. You can download the error image from here.
Finally set the image in the ImageView. This section of code means that first Glide will try to fetch the image from the given url and if it encounters some error fetching the image, then it will load the errorImage.
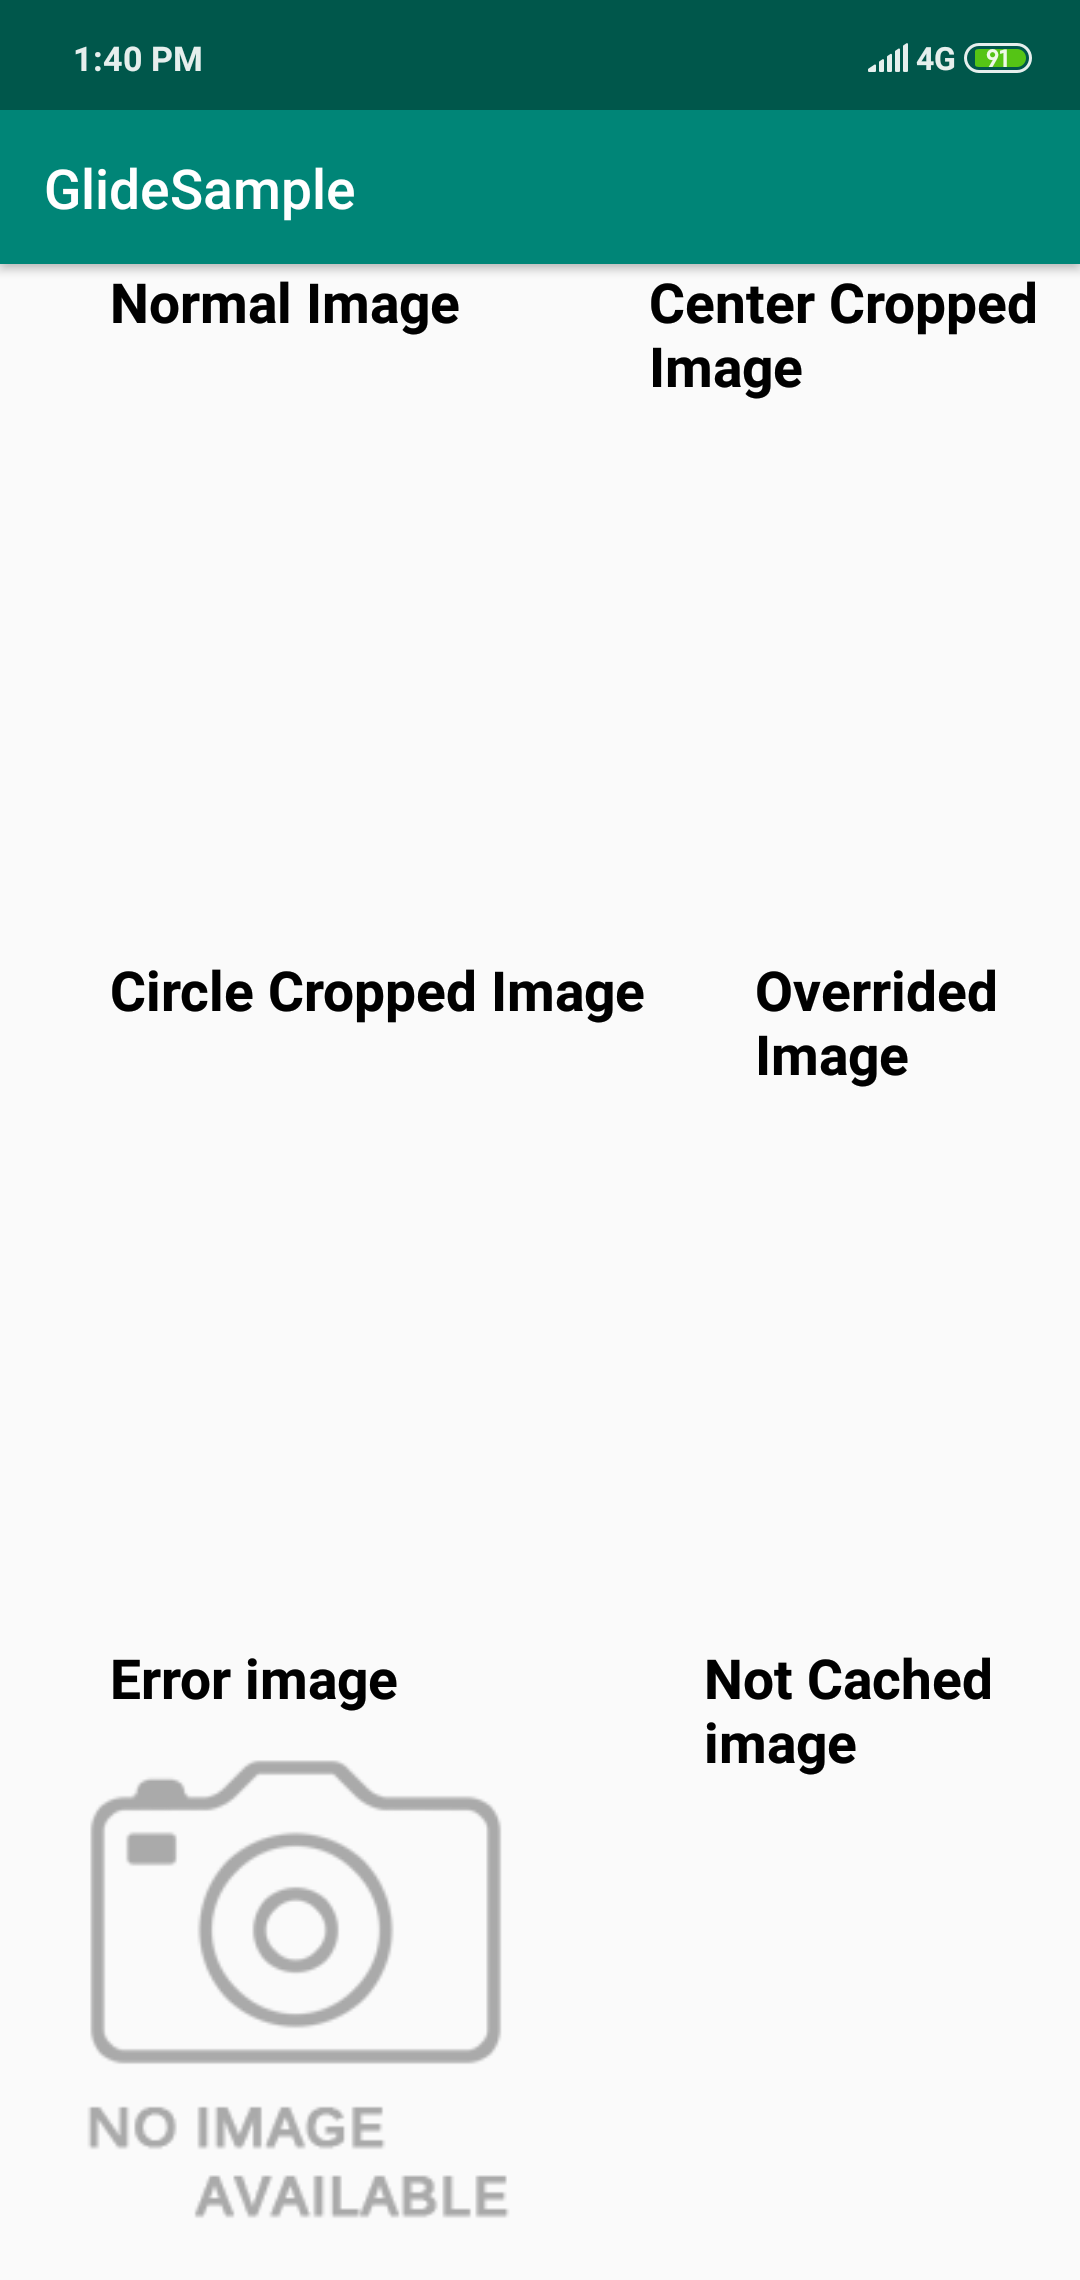
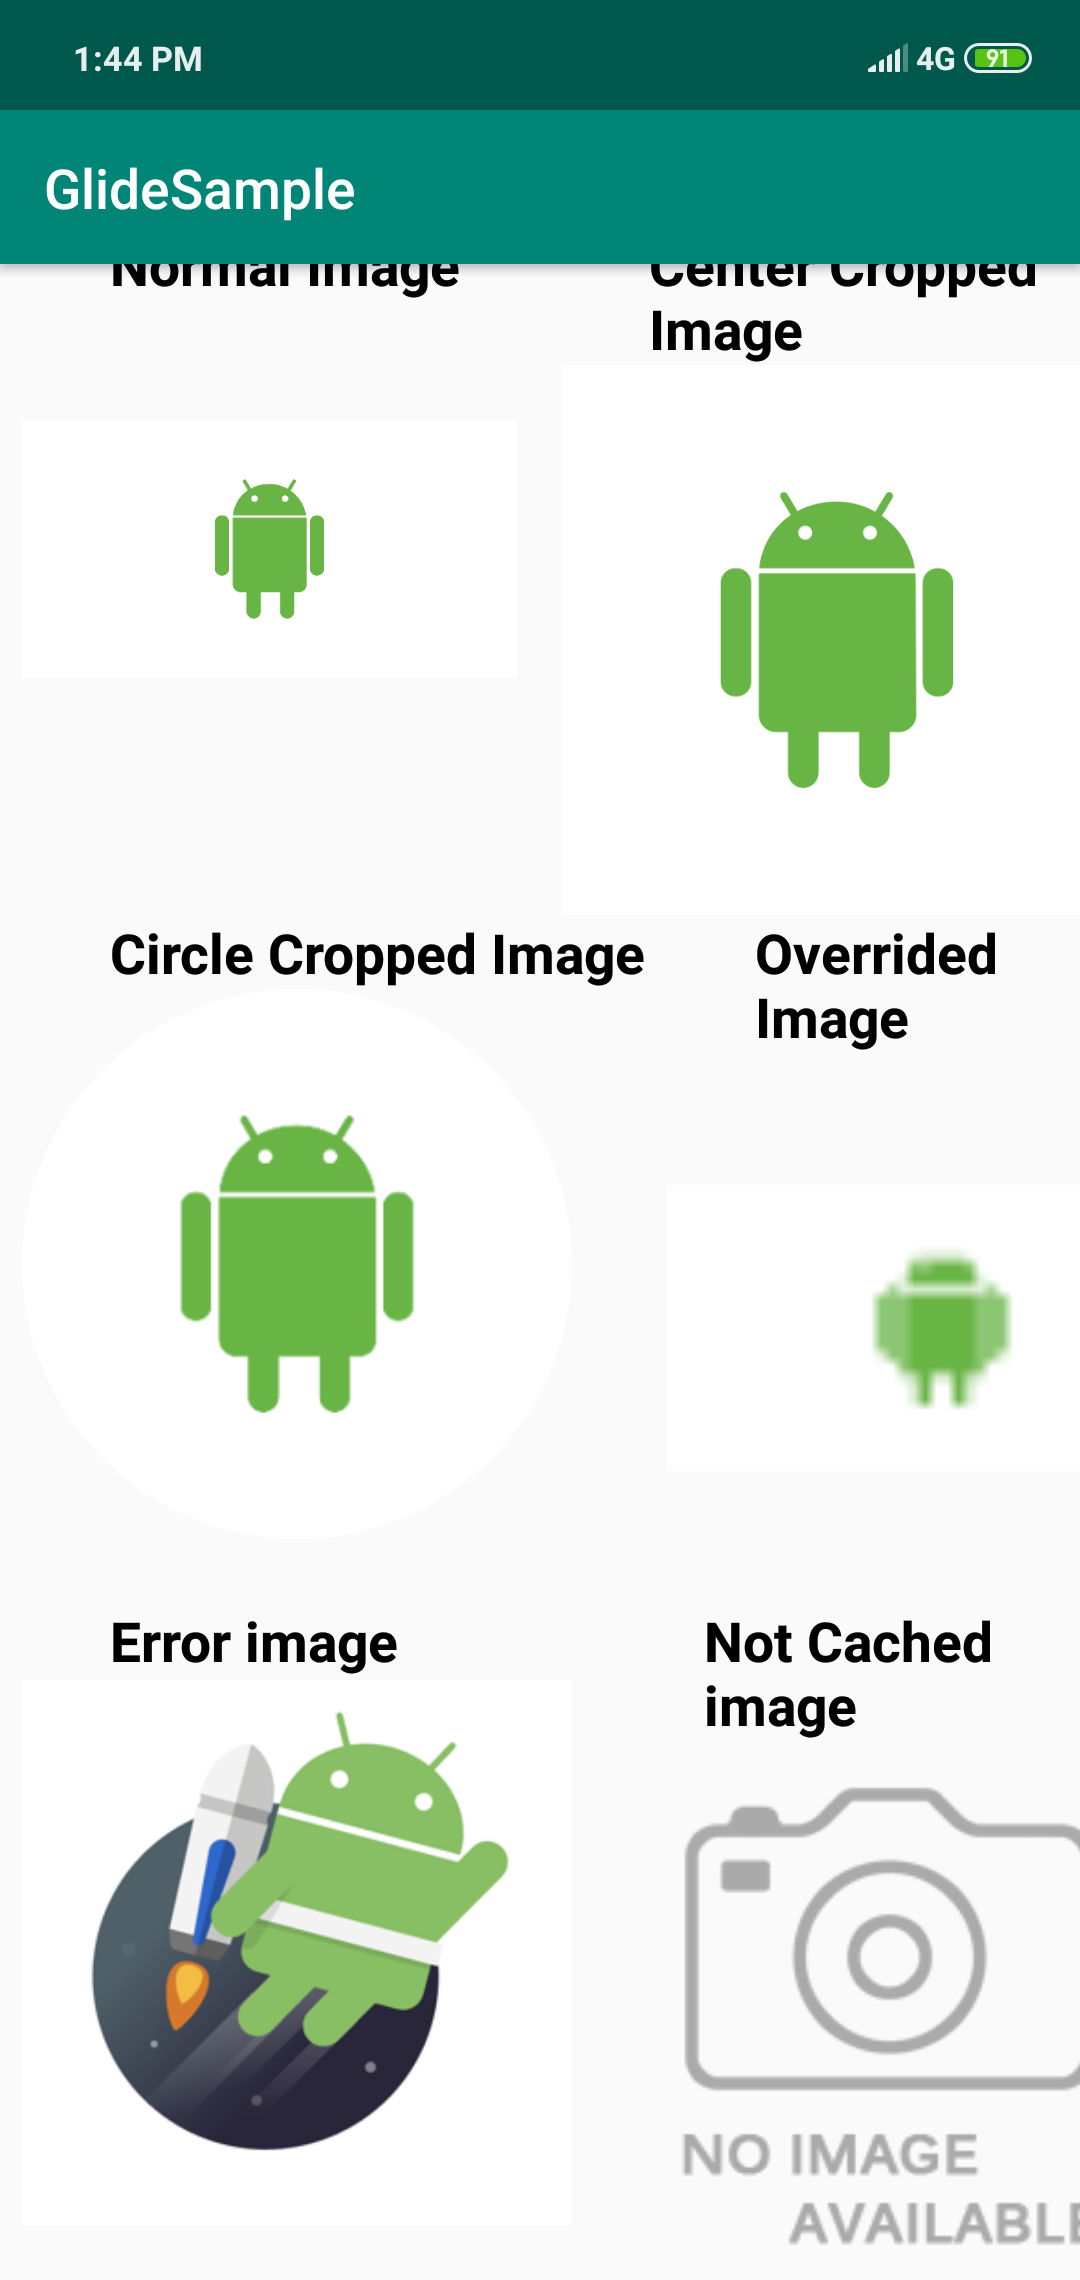
First image indicates that when the internet connection is off, then the error image is displayed, then after that turn on the internet and now the image will be loaded from the internet as shown in Figure 2 and after that again turn off the internet, now, you will notice that still image is displaying in the imageview because previously when image is loaded it is cached in the memory or disk therefore in this case, image is loaded from cache as shown in Figure 3.
Network OFF
Network ON
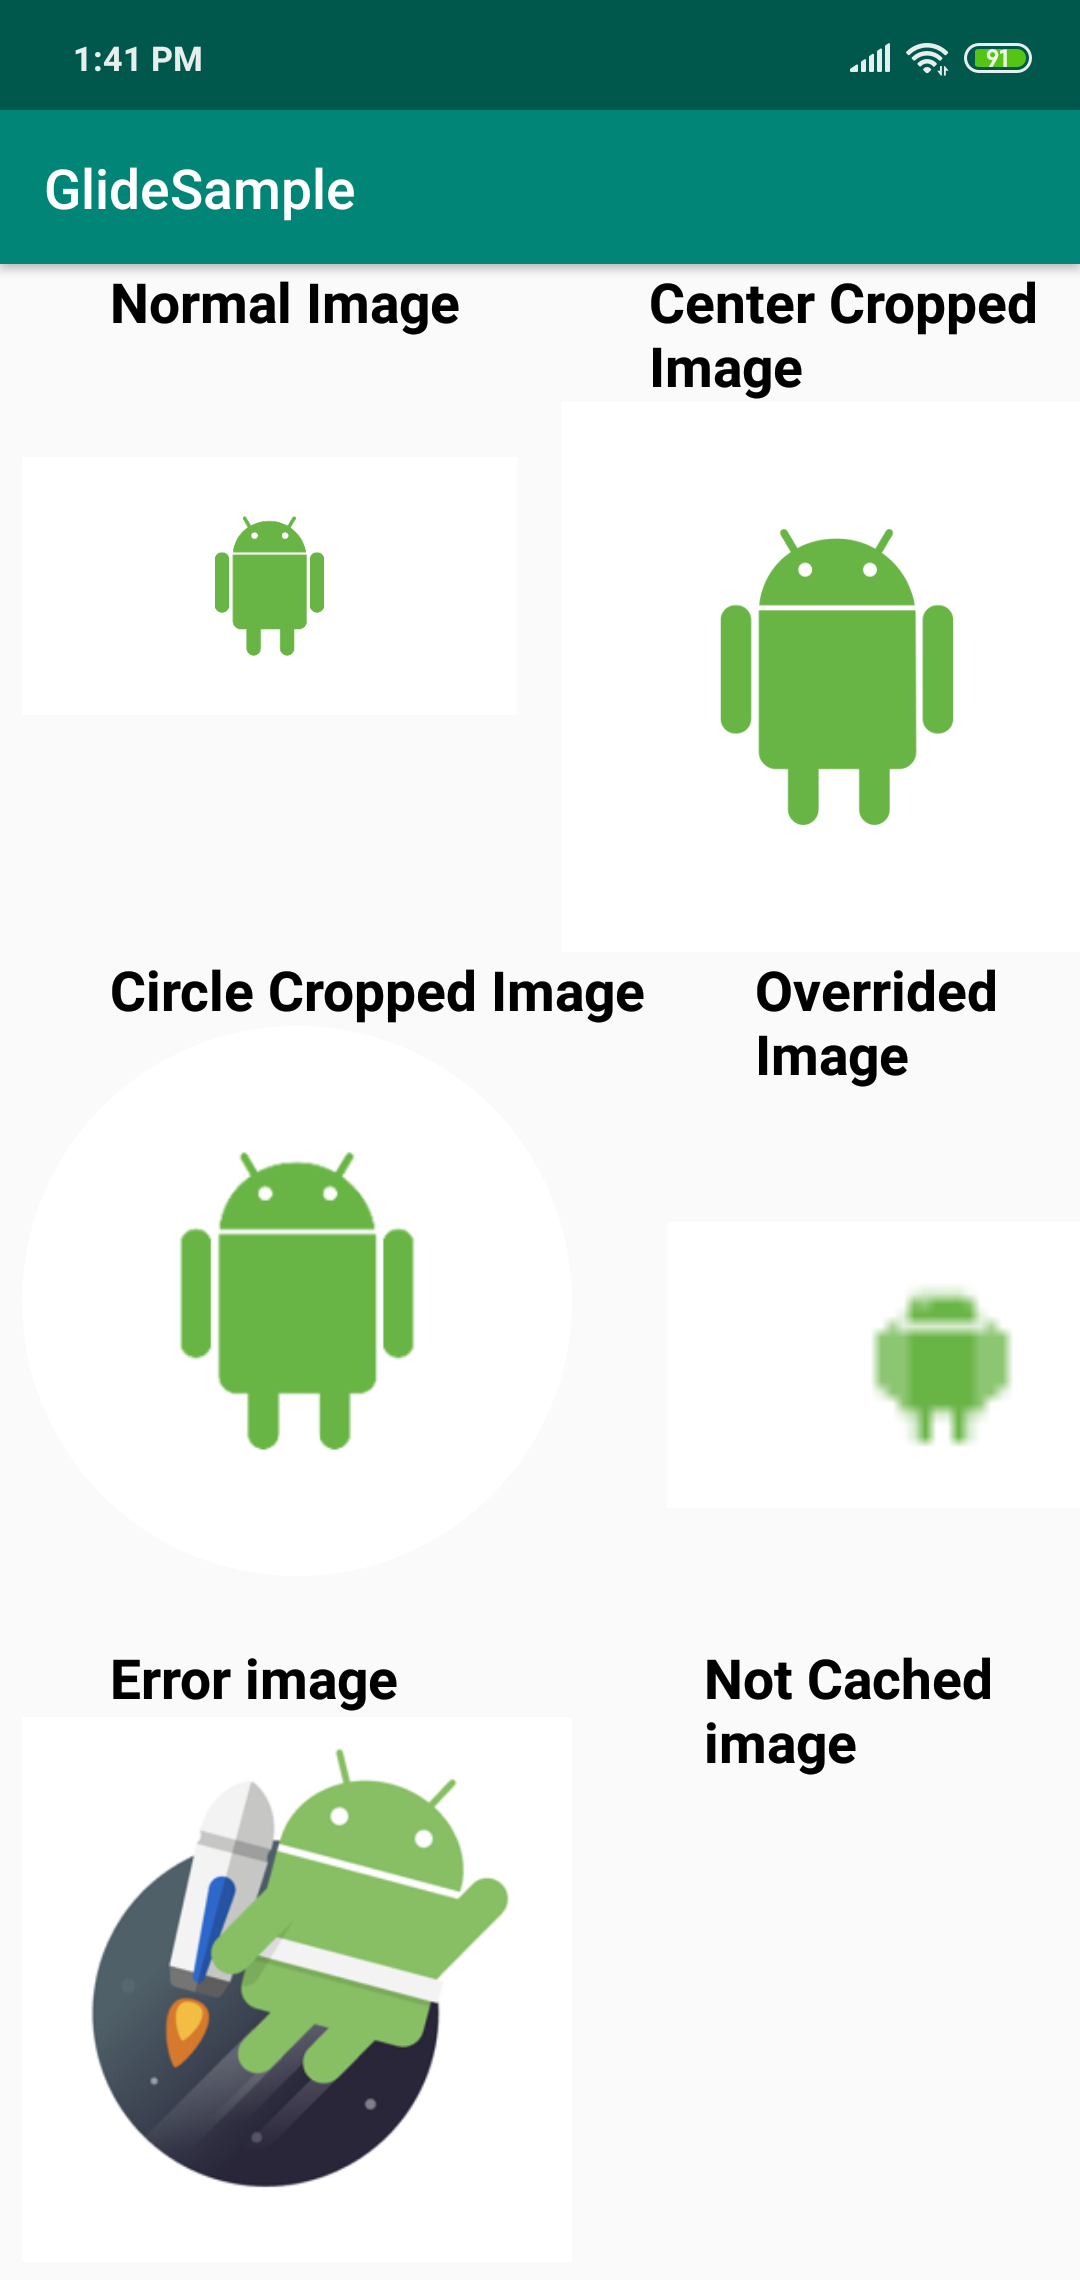
Network ON

Displaying Image & disabling cache
In this section, we will display an Image from the url and we will disable the caching option here. As metioned in the Introduction section, that each image loaded with Glide is cached in the memory or disk by default, therefore, we will see how to disable this option here.
- Normal Image :
In this part, we will fetch a simple image and disable caching option.
-
First, Declare the ImageView object inside the MainActivity class and find the reference of that image
in the onCreate() method using findViewById() method.
-
Now, Load the image from the url and display it in the ImageView. In the below code, we
are calling the load() method and passing the url of the image as a parameter to it
and calling two methods here :
- skipMemoryCache() :
This method takes a boolean parameter indicating that whether to skip the memory cache or not. In this case, we are passing false as its parameter which means that image will not be cached in the memory. Everytime, it will fetch the image from the url.
- diskCacheStrategy() :
This method is used to tell whether the image should be saved in disk cache or not. In this case, we are passing DiskCacheStrategy.NONE as its parameter which means that image will not be cached in the disk. Everytime, it will fetch the image from the url.
- skipMemoryCache() :
Current state of the app : -
First, Declare the ImageView object inside the MainActivity class and find the reference of that image
in the onCreate() method using findViewById() method.
First image indicates that when the internet connection is off, then the error image is displayed, then after that, turn on the internet and now the image will be loaded from the internet as shown in Figure 2 and after that, again turn off the internet, now, you will notice now the image will not be displayed in the imageView because we are disabling the cache option here, therefore, everytime the image is fetched from the url.
Network OFF
Network ON
Network ON
Request Listener
In this section, we will fetch a simple image and disable caching option and also we will listen to the image request so that when image is loaded or when it is failed, then we will perform some action.
-
First, Declare the ImageView object inside the MainActivity class and find the reference of that image
in the onCreate() method using findViewById() method.
-
Now, Load the image from the url and display it in the third ImageView.
In the below code, we are calling the load() method and calling skipMemoryCache() and diskCacheStrategy() methods to disable the caching of this image and another method we are calling here is placeholder() method, which basically indicates that when the image is loading, during that process, it will show the image which is passed as its parameter. Finally, we are calling listener() method, and initializing the RequestListener() which results in overriding of two methods :
- onLoadFailed() :
This method is called when the image loading has failed due to some reasons like no internet connection, etc. In this method, we are setting the visibility of the progressBar to INVISIBLE so that it just vanished off from the screen, when image loading is failed.
- onResourceReady() :
This method is called when the image loading is successfull. In this method, we are setting the visibility of the progressBar to INVISIBLE so that it just vanished off from the screen, when image is successfully loaded.
- onLoadFailed() :
Current state of the app :
First image indicates that when the image is loading from the internet, during that process, placeholder iamge and progressBar is being displayed and Figure 2 shows that when the image is loaded from the internet then it is displayed in the imageview and progressBar and placeholder image vanishes off from the screen.
Loading Image
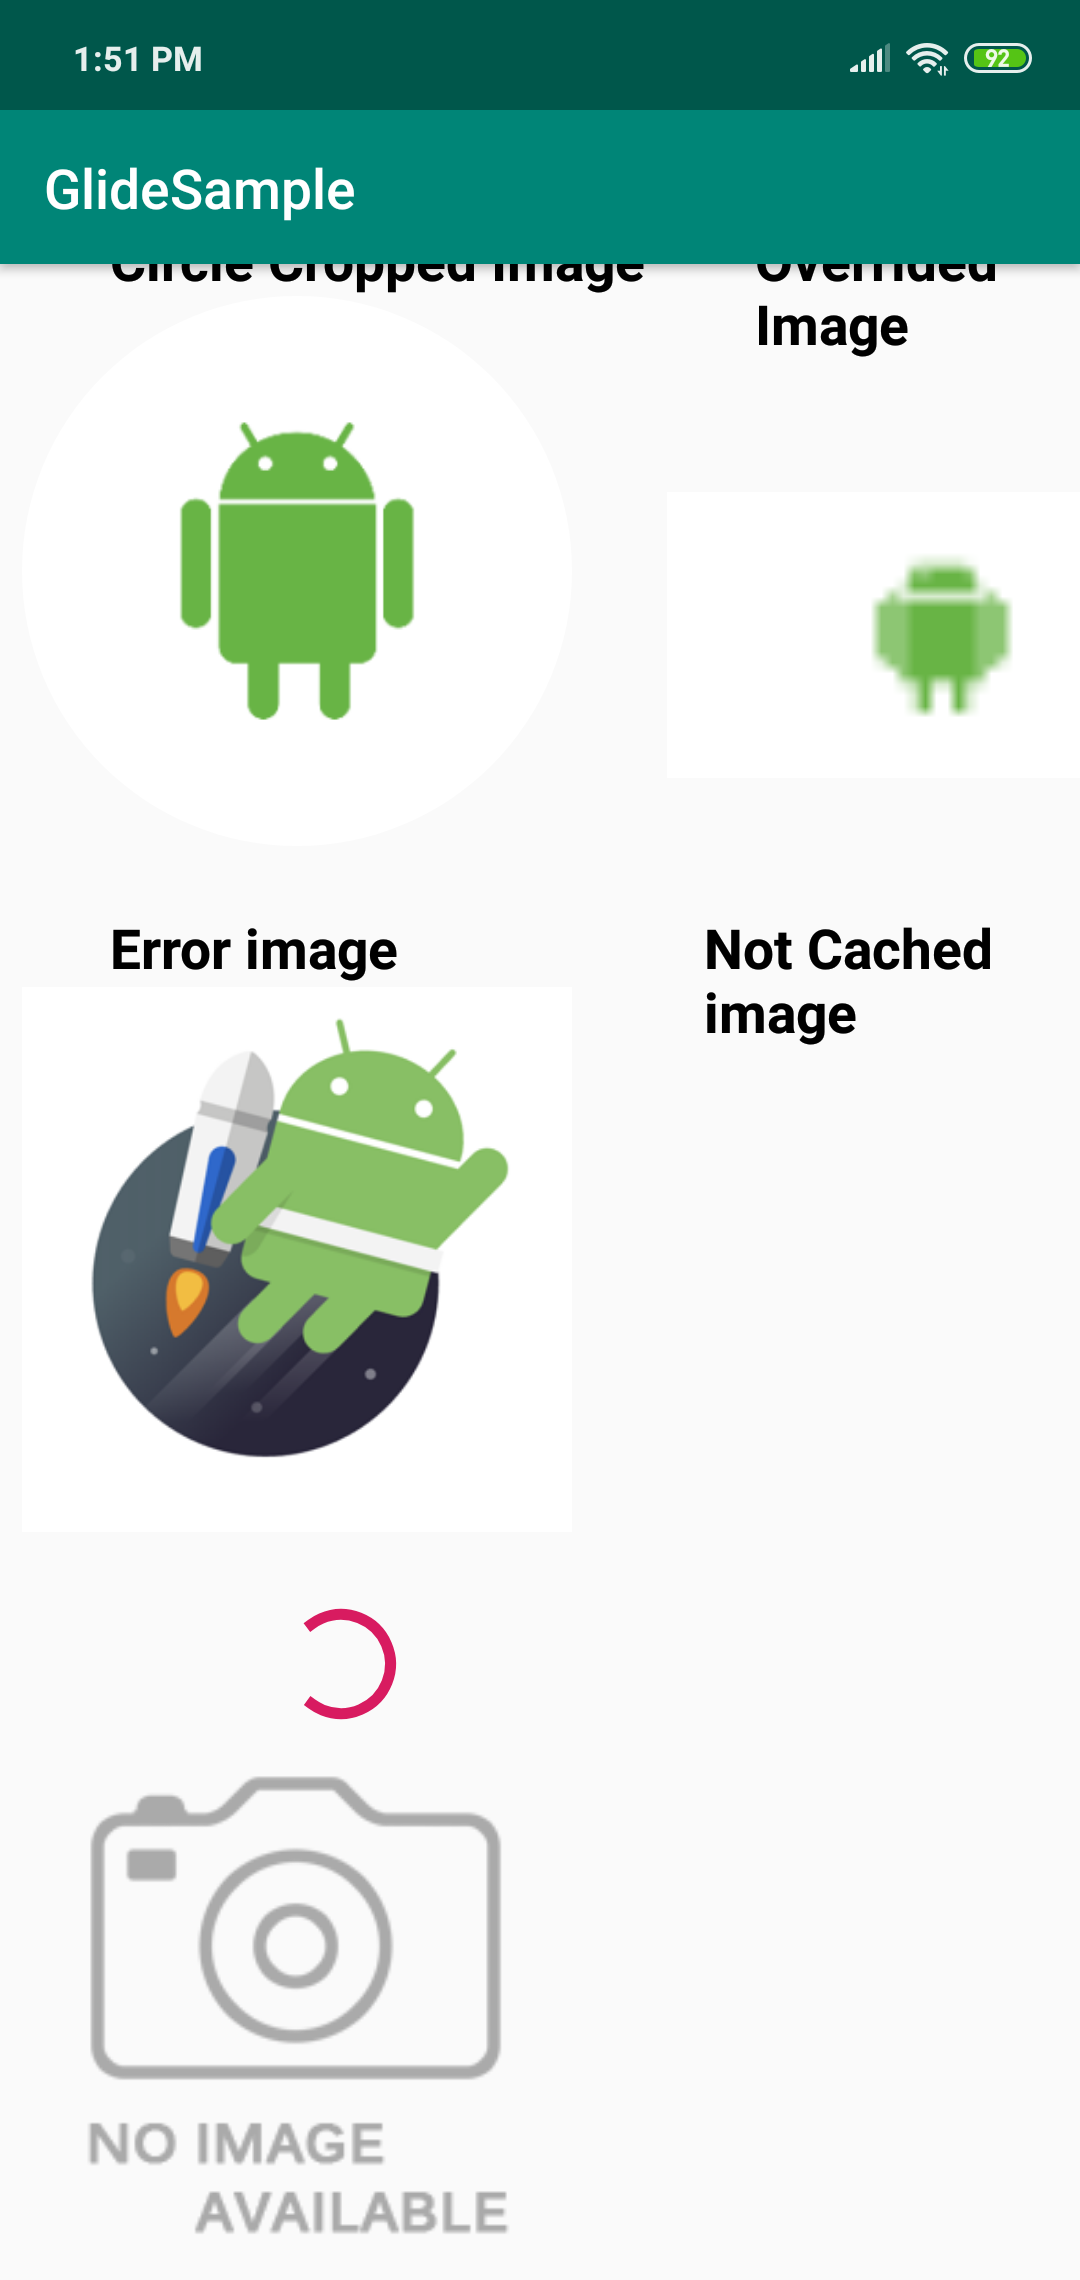
Image Loaded
That's All! Happy Coding!
The complete code is available here.
Staying in the Loop
If you want to stay in the loop and get an email when I write new blog posts, Follow me on Instagram or join the CodingWithMitch community on my website. It only takes about 30 seconds to register.
Authors

Create an Account
Similar Posts
CodingWithMitch Members
Unlimited access to all courses and videos
Step by step guides to build real projects
Video downloads for offline viewing
Members can vote on what kind of content they want to see
Access to a private chat with other communnity members & Mitch
CodingWithMitch Members
Unlimited access to all courses and videos
Step by step guides to build real projects
Video downloads for offline viewing
Members can vote on what kind of content they want to see
Access to a private chat with other communnity members & Mitch
Comments